

Custom Patches
Design Guide
Everything you need to know about custom patches — from embroidered and woven to chenille, sublimation, PVC, and leather. Patch types, backing options, border styles, sizing by garment, shape guides for military and scouting, file preparation, and production tips. The most comprehensive patch design reference on the internet.
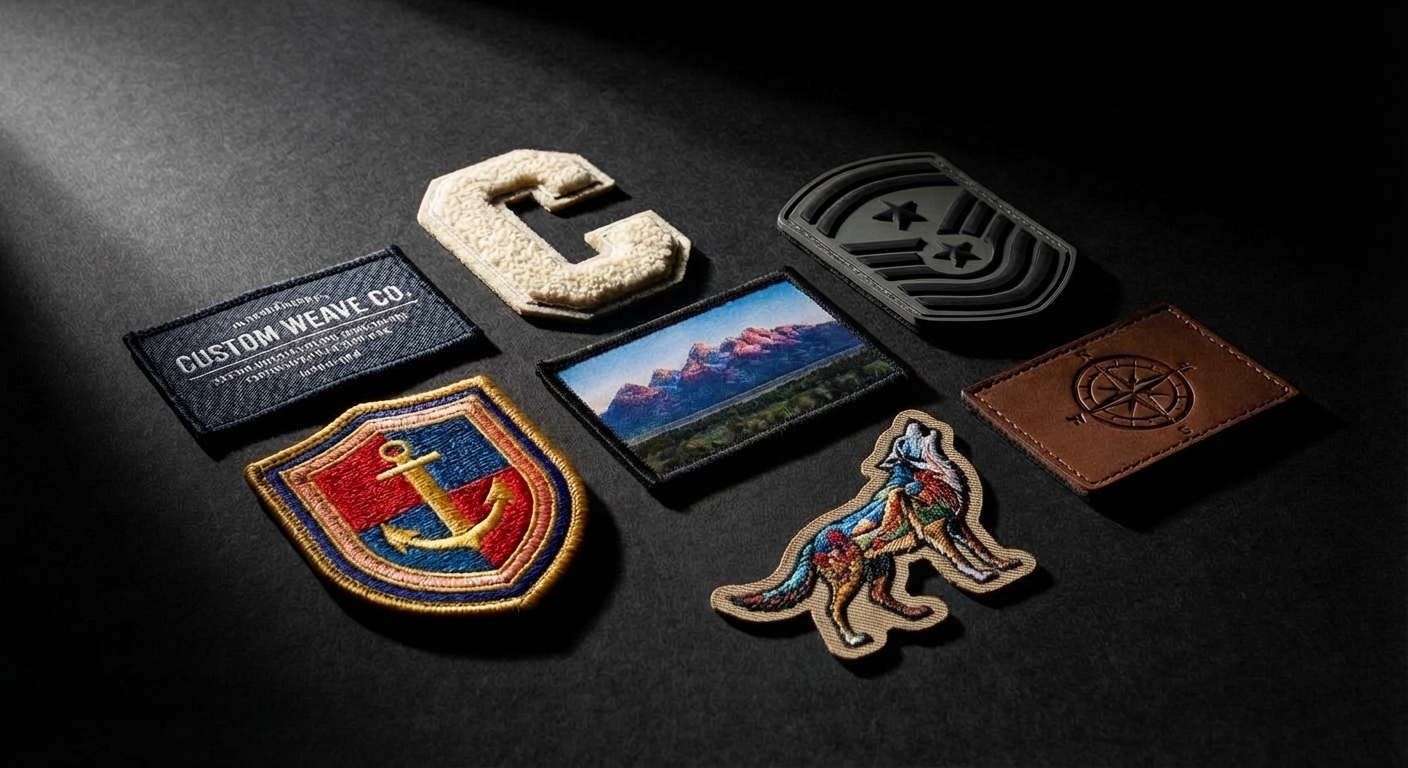
1. Custom Patch Types
Choosing the right patch type is the most important decision in any custom patch project. Each type has distinct characteristics — from texture and durability to color capacity and detail resolution. Below are the six primary custom patch types we manufacture, each suited to different applications, aesthetics, and budgets.
1 Embroidered Patches
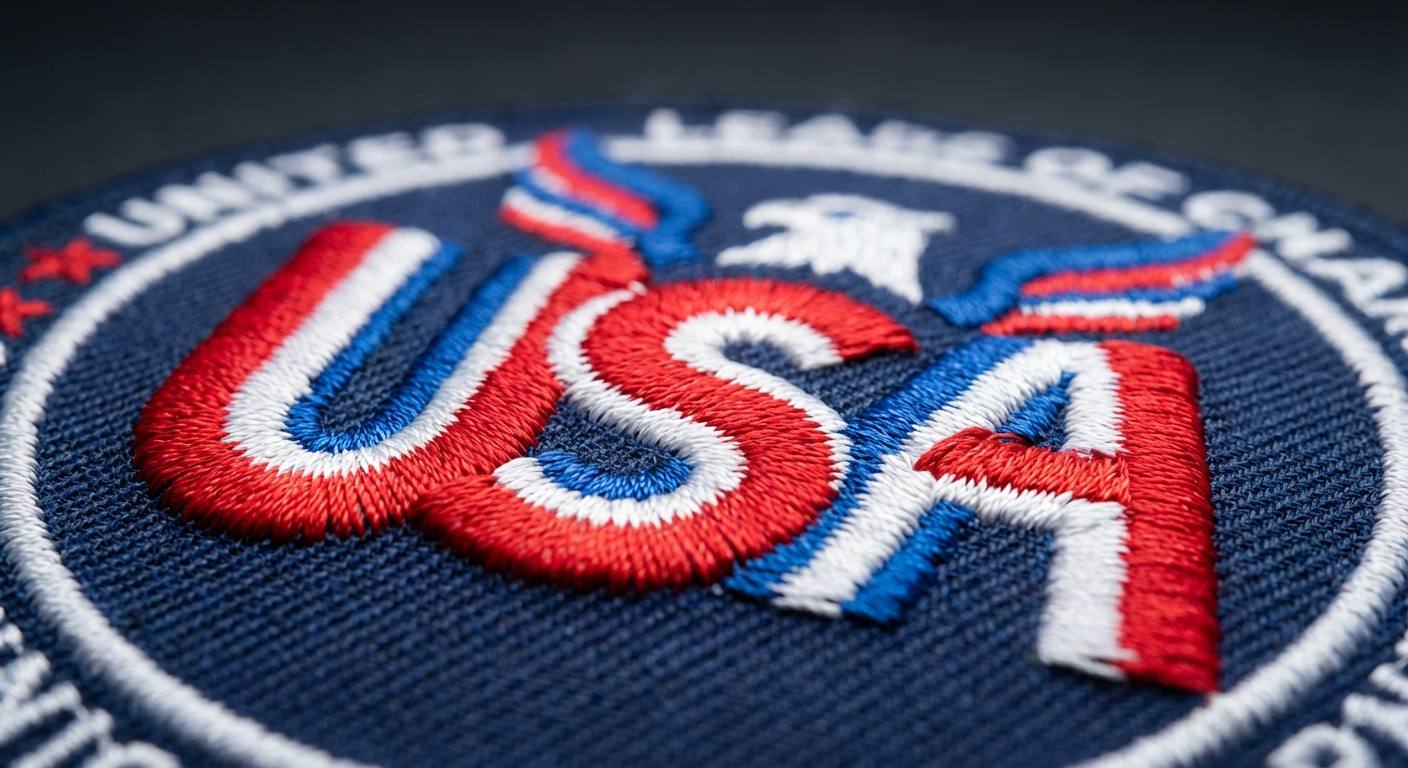
The classic custom patch — and by far the most popular type. Embroidered patches are created by stitching colored thread onto a twill fabric backing using computerized embroidery machines. The raised thread creates a textured, three-dimensional surface that catches light and feels substantial. Embroidered patches are incredibly versatile and work for virtually any application from corporate branding to team sports.
2 Woven Patches
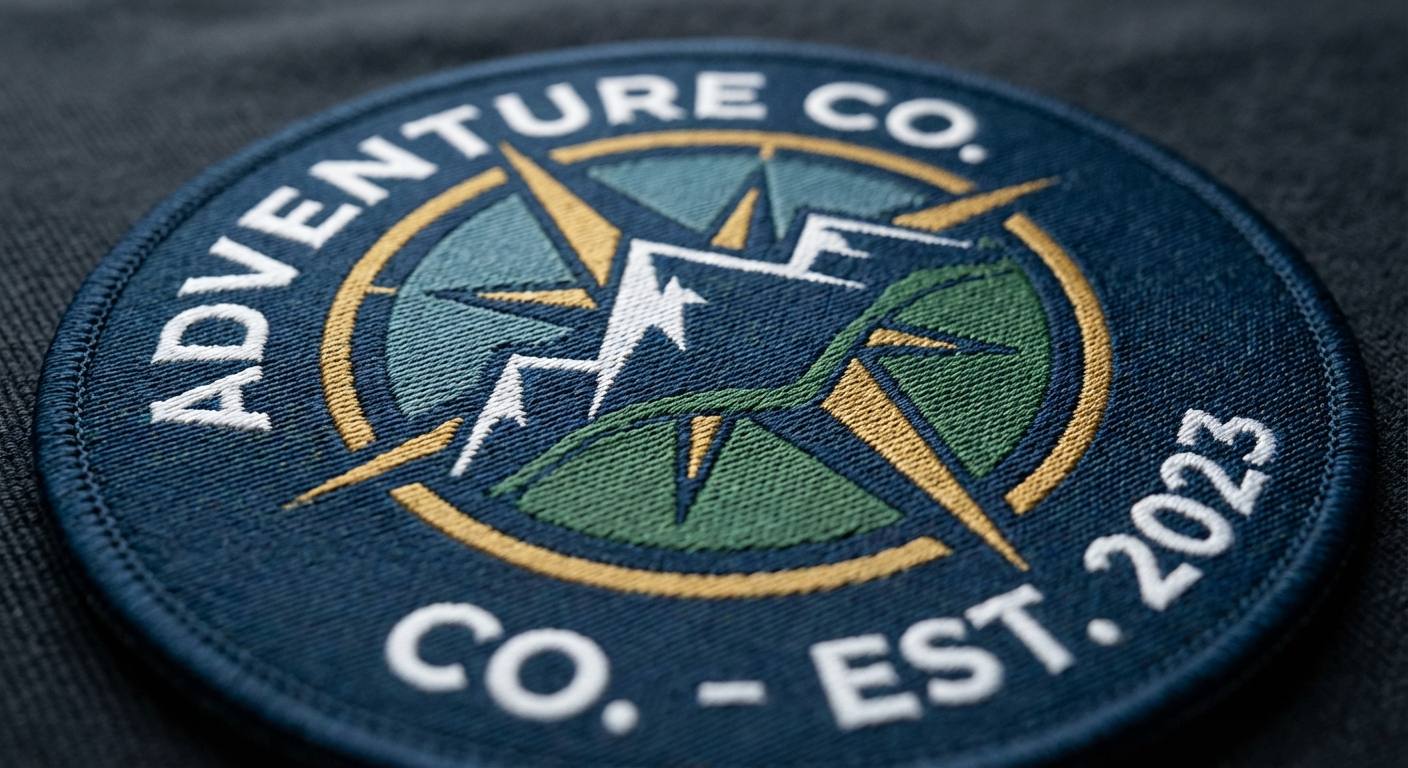
Thinner and finer than embroidered — woven patches use thinner threads interlaced on a loom to create a flat, smooth surface. Because the threads are finer, woven patches can reproduce significantly more detail than embroidered patches, making them the go-to choice for designs with small text, intricate linework, or complex graphics. The flat weave sits closer to the garment surface for a sleeker, lower-profile look.
3 Chenille Patches
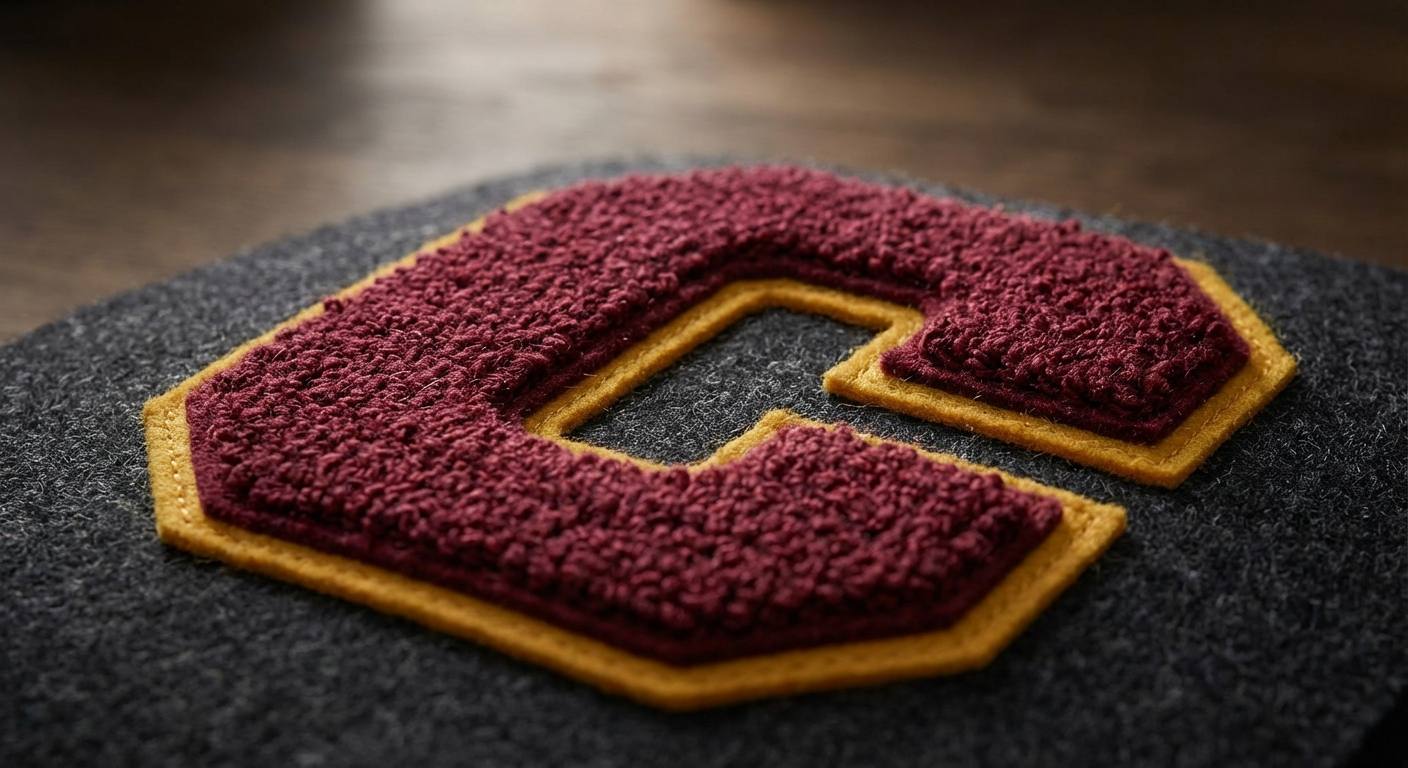
Plush, fuzzy, and unmistakably varsity. Chenille patches are made from soft chenille yarn stitched through a felt backing, creating the thick, tufted "towel-like" texture iconic to letterman jackets. The yarn is looped and cut to create a raised pile that's soft to the touch. Chenille patches make a bold visual statement and are increasingly popular in streetwear and high-end fashion beyond their traditional athletic roots.
4 Sublimation Patches
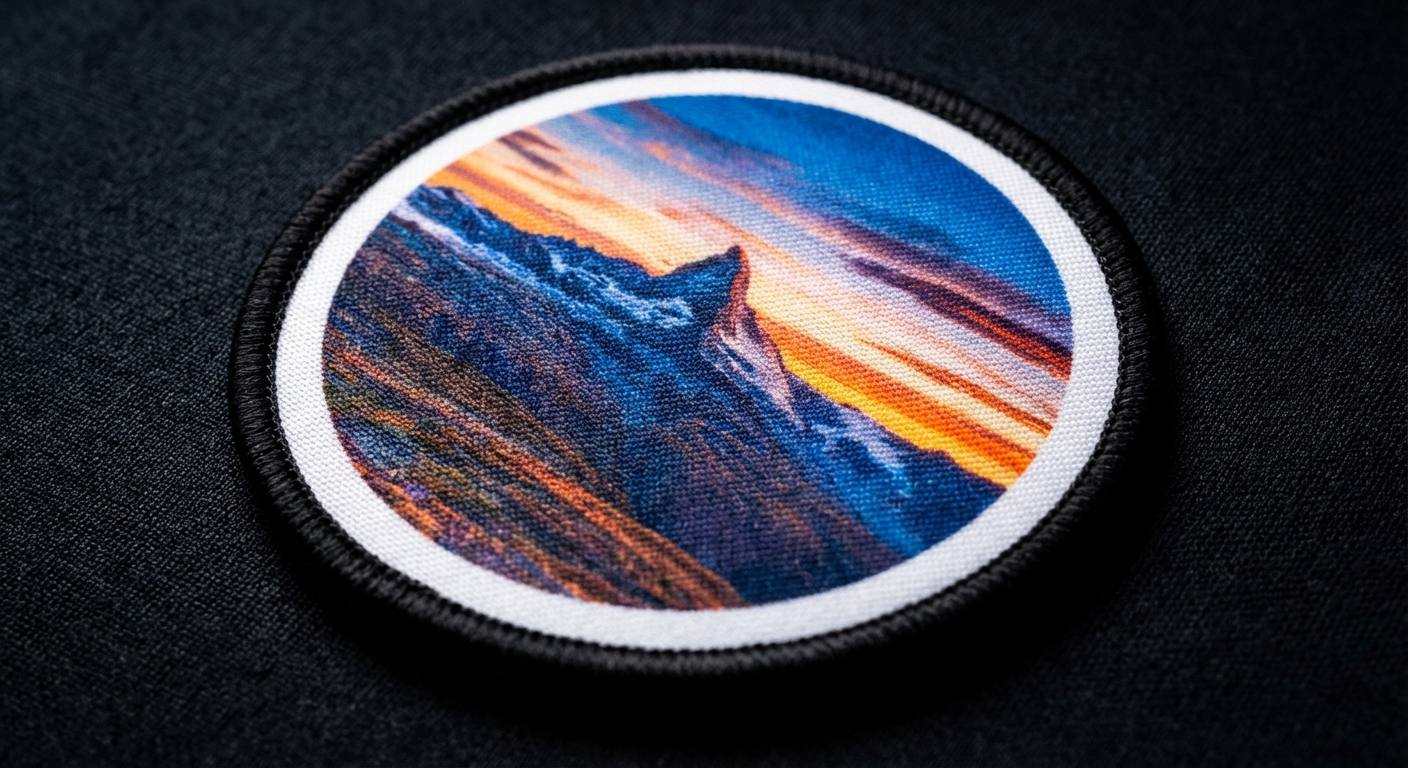
Full-color, photographic quality — unlimited colors. Sublimation patches use a heat-transfer printing process to infuse full-color artwork directly onto a white polyester fabric base. The dye becomes part of the fabric at a molecular level, resulting in vivid, permanent colors that won't crack, peel, or fade. This is the only patch type that can reproduce photographs, complex gradients, and designs with dozens or hundreds of colors.
5 PVC Patches
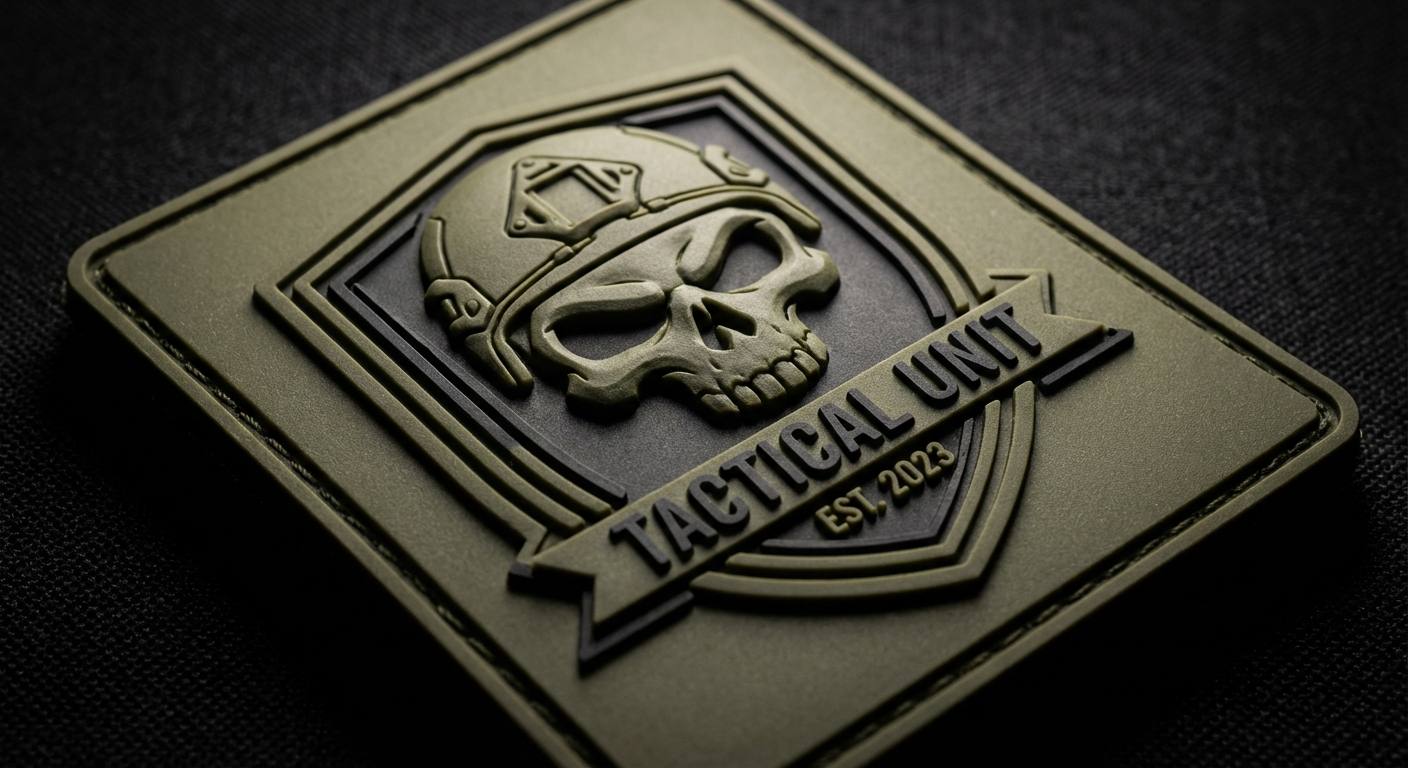
Rugged, waterproof, and built for the outdoors. PVC patches are made from soft rubber (polyvinyl chloride) using custom molds that create either 2D flat or 3D raised designs. The rubber material is completely waterproof, resistant to fading, and easy to clean — making PVC the standard for military, tactical, outdoor, and promotional applications. Each design requires a custom mold, which allows for precise, repeatable production of crisp details and bold dimensional elements.
6 Leather Patches
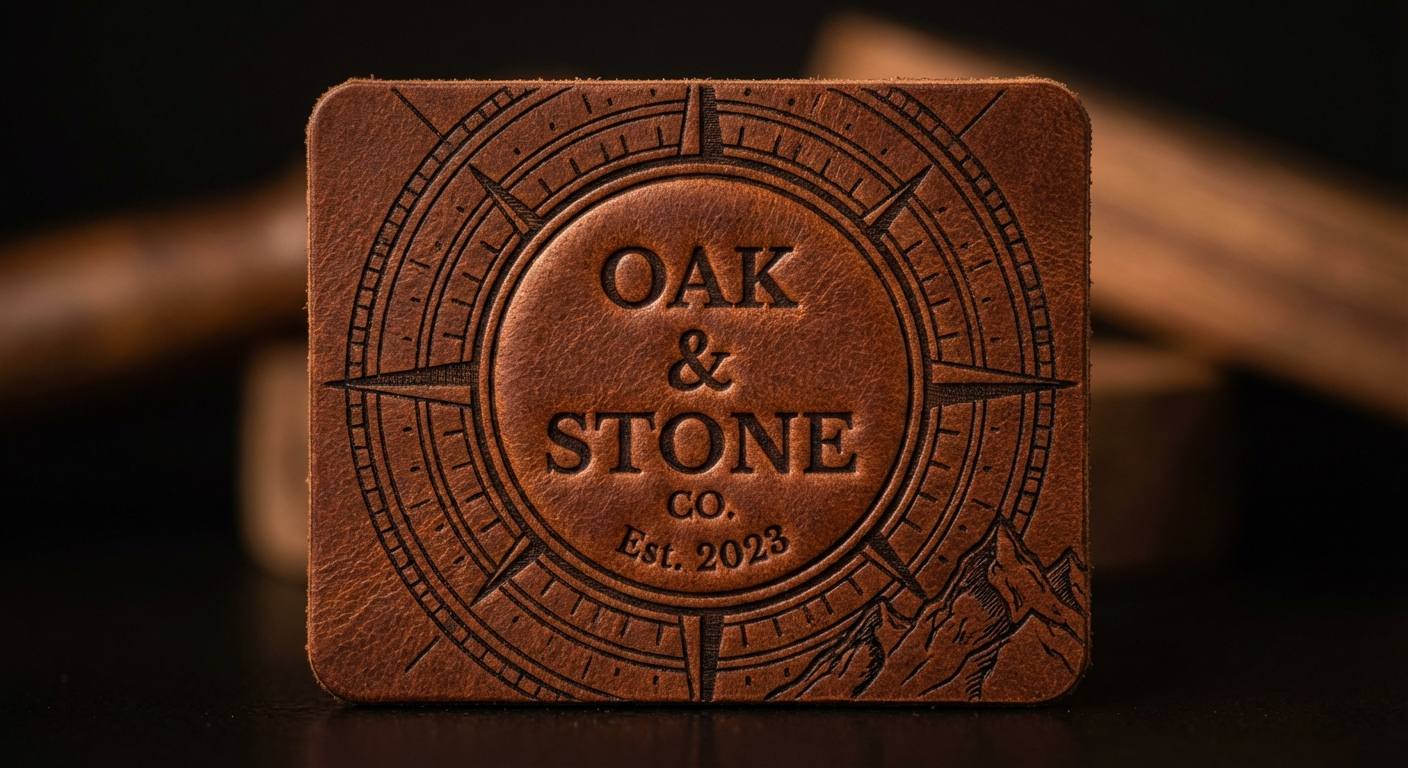
Premium and sophisticated. Leather patches are available in genuine or faux (vegan) leather and can feature debossed (pressed in), embossed (raised), or laser-engraved designs. The natural grain texture of leather gives patches an upscale, artisanal feel that pairs exceptionally well with denim, canvas, and premium apparel. Laser engraving allows for fine detail that's permanently burned into the surface.
2. Backing Types & Application Guide
The backing of your custom patch determines how it attaches to garments and accessories. Each backing type offers different levels of permanence, convenience, and versatility. Choose based on how the patch will be used — permanent uniform attachment requires different backing than a swappable morale patch.
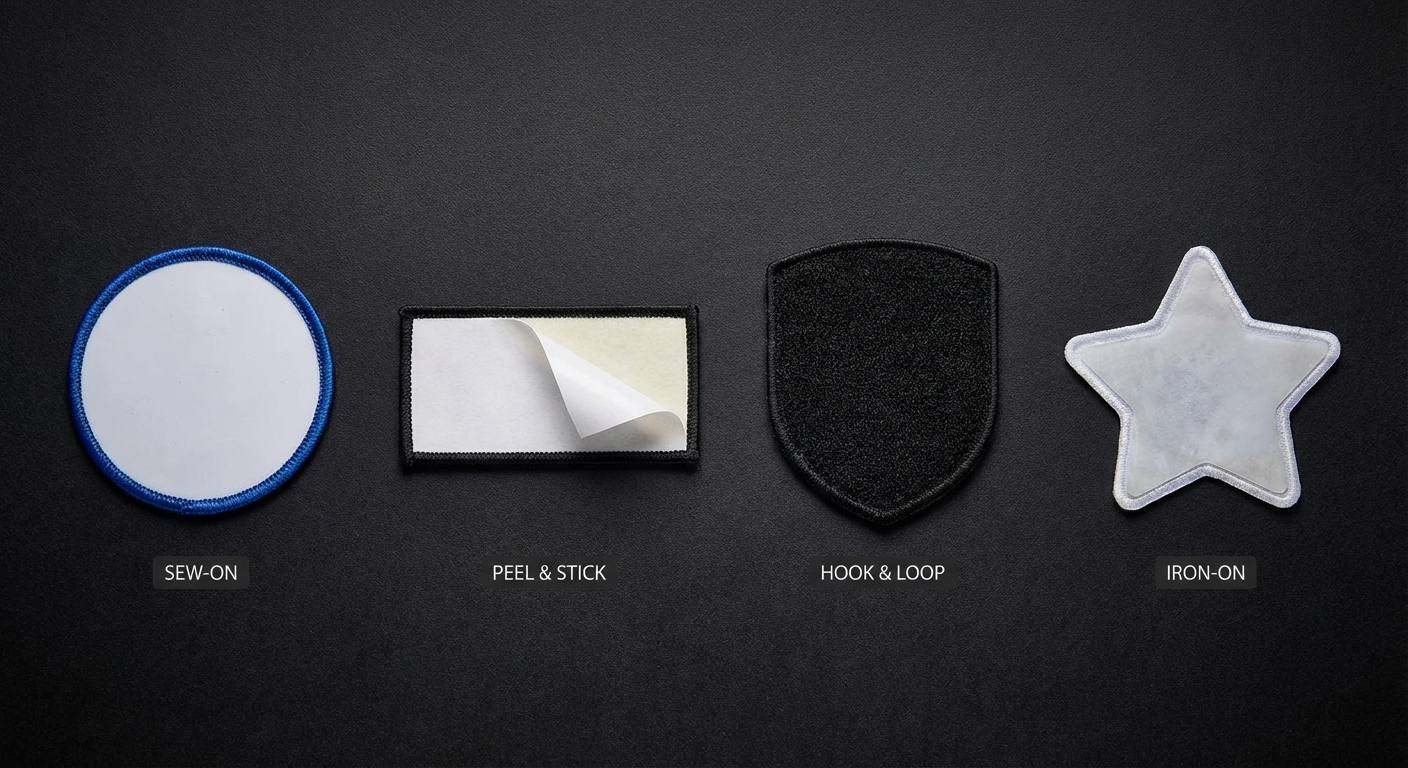
From left: sew-on (plastic) backing, peel & stick adhesive, hook & loop, and iron-on backing
1 Sew-On (Plastic Backing)
The standard and most durable backing option. Sew-on patches have a stiff plastic backing that provides structure and a clean finish on the reverse side. They're attached by stitching around the patch border — by machine or by hand — creating the most permanent and wash-resistant bond possible. This is the default backing for professional uniforms, workwear, and any application that demands longevity.
2 Peel & Stick (Adhesive Backing)
Quick, temporary attachment — no sewing or heat required. Peel & stick patches have a pressure-sensitive adhesive layer with a peel-off paper liner. Simply peel the liner and press the patch onto any smooth surface. Ideal for temporary placement, events, and items that won't be washed. The adhesive bond is not wash-resistant, so this backing is best for short-term or indoor applications.
3 Hook & Loop Backing
Removable and swappable — the tactical standard. Hook & loop is a two-part system: the hook side (rough, bristly) is attached to the patch back, and the loop side (soft, fuzzy) is attached to the garment or gear. Patches snap on and peel off easily, making this the standard for military uniforms, tactical gear, airsoft loadouts, and morale patch collections where patches need to be swapped frequently.
4 Iron-On Backing
Heat-activated adhesive for semi-permanent attachment. Iron-on patches have a layer of heat-activated adhesive on the back that melts and bonds to fabric when heated. Apply with a commercial heat press (recommended) or a home iron. The bond is semi-permanent — it holds up to moderate washing but may loosen over time with heavy use. For maximum durability, many people iron the patch on first, then reinforce with a few stitches around the edge.
Backing Compatibility by Patch Type
| Patch Type | Sew-On | Peel & Stick | Hook & Loop | Iron-On |
|---|---|---|---|---|
| Embroidered | ✓ | ✓ | ✓ | ✓ |
| Woven | ✓ | ✓ | ✓ | ✓ |
| Chenille | ✓ | ✓ | — | ✓ |
| Sublimation | ✓ | ✓ | ✓ | ✓ |
| PVC | ✓ (via holes) | ✓ | ✓ | — |
| Leather | ✓ | ✓ | ✓ | — |
Backing Recommendation by Application
| Application | Recommended Backing | Why |
|---|---|---|
| Uniforms / workwear | Sew-on | Most durable; survives industrial laundering |
| Military / tactical gear | Hook & loop | Swappable; standard on military garments |
| Hats / caps | Sew-on or iron-on | Sew-on for durability; iron-on for DIY |
| Jackets (permanent) | Sew-on | Withstands washing, movement, abrasion |
| Kids' clothing / DIY | Iron-on | Easy application without sewing |
| Events / trade shows | Peel & stick | Quick on/off, no tools needed |
| Bags / backpacks | Sew-on or hook & loop | Sew for permanent; H&L for modular setups |
| Promotional giveaways | Iron-on or peel & stick | Easy for recipients to apply themselves |
3. Border & Edge Options
The border treatment on your custom patch affects both appearance and shape possibilities. There are two primary edge types — each with distinct advantages and limitations.
Left: merrowed (thread-wrapped) edge — Right: laser cut (heat-sealed) edge
Merrowed Edge
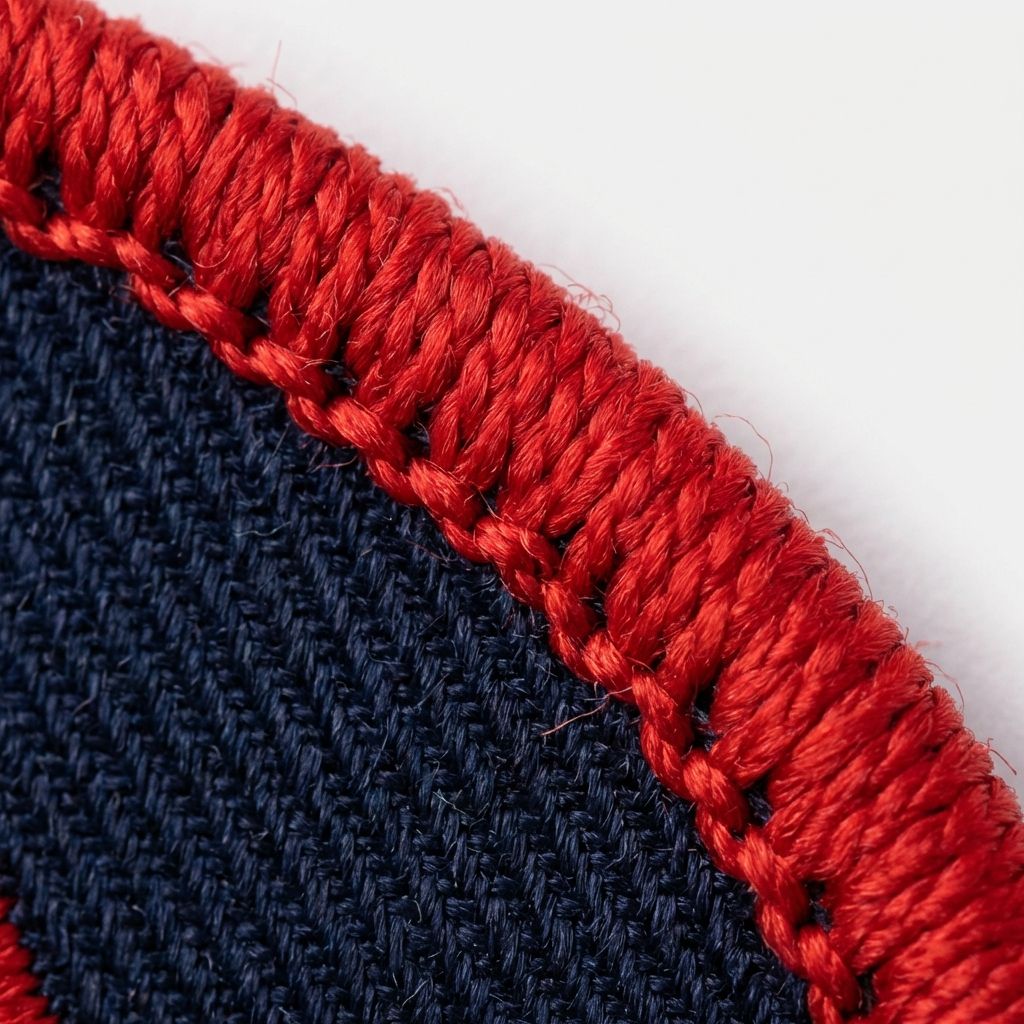
The classic, professional finish. A merrowing machine wraps thread continuously around the entire patch perimeter, creating a thick, defined border. Available in matching or contrasting thread colors. The merrowed edge is the most recognizable patch border style and works beautifully on circles, ovals, rectangles, and simple rounded shapes.
Limitation: The merrowing machine must wrap thread around the edge in a continuous loop. This means merrowed edges require simple shapes without sharp inward angles — the thread can't navigate tight concavities. Complex outlines, star shapes, or custom silhouettes with cutouts are not compatible with merrowed borders.
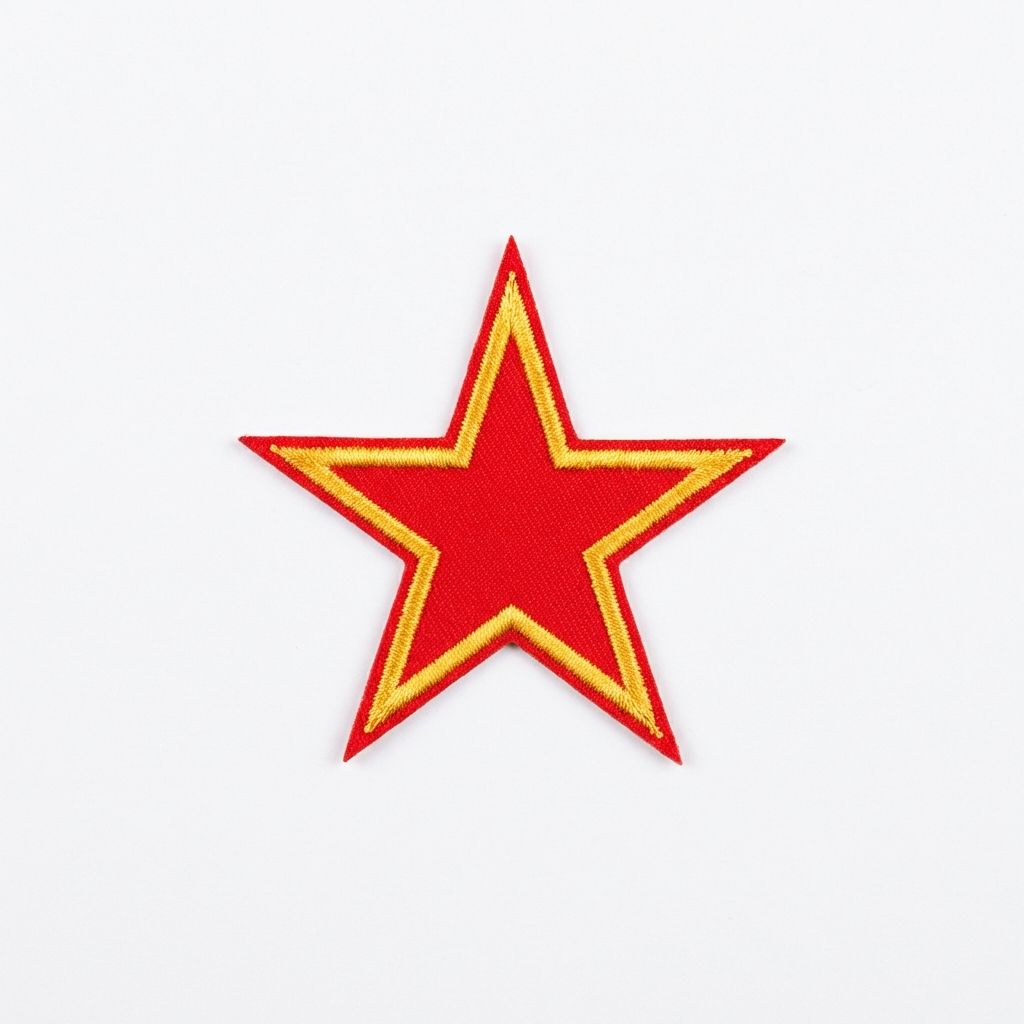
Laser Cut Edge
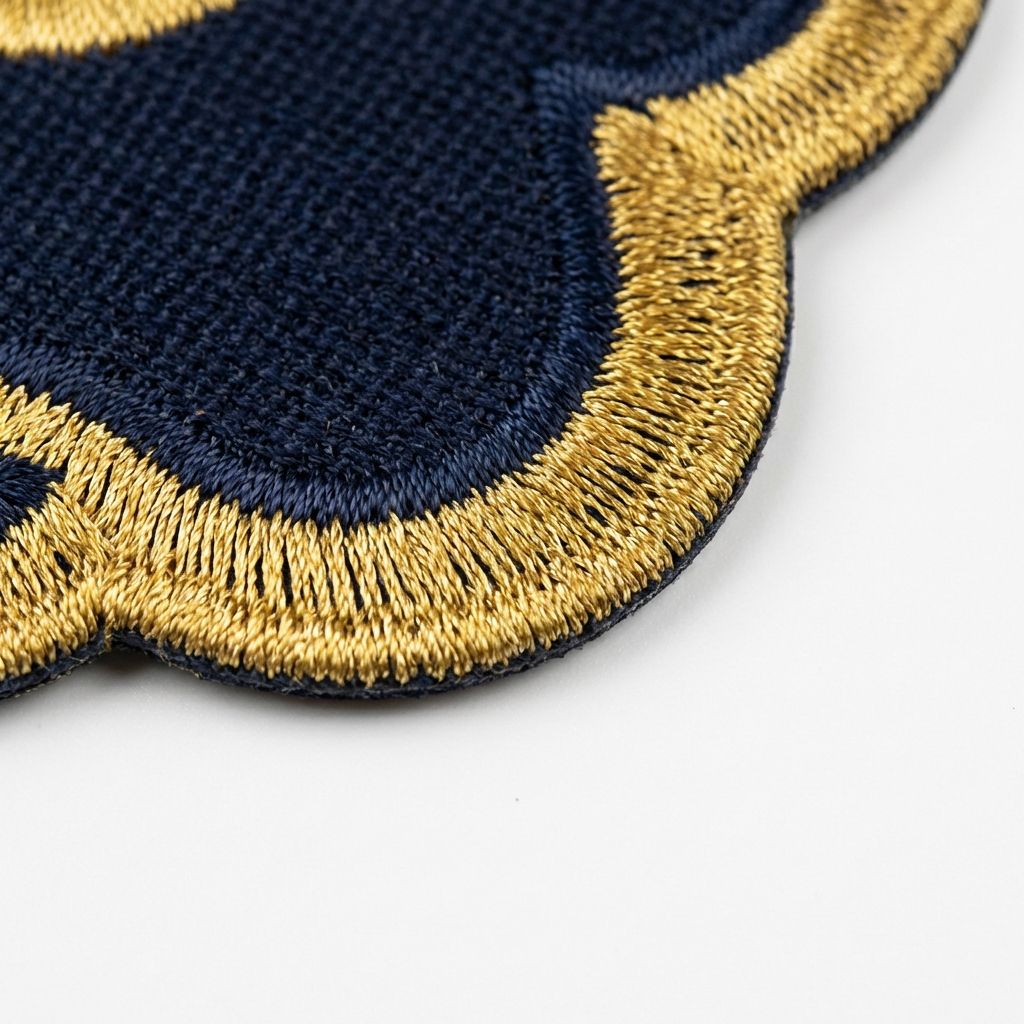
Any shape, any complexity. Laser cut edges use a precision laser to cut the patch to its exact outline, then heat-seal the edge to prevent fraying. This method can accommodate any shape imaginable — complex silhouettes, sharp angles, intricate cutouts, detailed outlines, and irregular forms that would be impossible with a merrowing machine.
With laser cut patches, the border detail is generally embroidered onto the patch surface rather than wrapped around the edge. This means you can still have a visible border — it's just stitched on top of the patch face instead of being thread-wrapped around the perimeter. Laser cut is the standard for custom-shaped patches, mascot outlines, and any design where shape is a defining element.
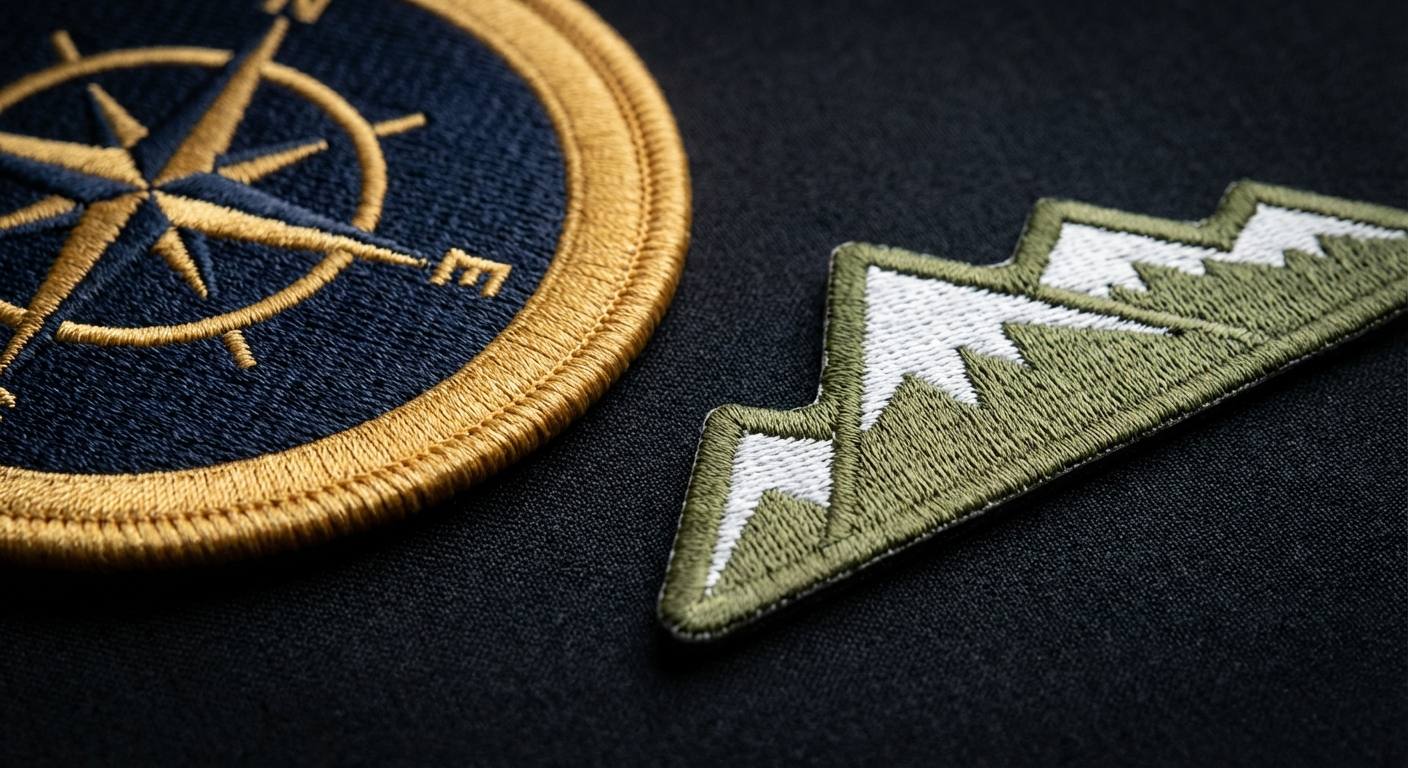
Laser Cut: Custom silhouettes, mascot outlines, state/country shapes, star shapes, detailed cutouts, or any design with sharp inward angles or complex geometry.
4. Embroidery Coverage Percentage
Embroidery coverage is how much of the patch surface is covered by stitched thread versus exposed twill backing. There are two options:

Left: 100% coverage (entire surface embroidered) — Right: Under 100% coverage (twill backing visible in background areas)
100% Full Embroidery Coverage
The entire patch surface is covered with thread — no backing material visible. Every area is stitched, creating a rich, dense, premium appearance. This is the default for most standard-sized patches.
<100% Under 100% Embroidery Coverage
Some areas show the twill backing fabric instead of embroidery. The main design elements — text, logo, borders — are fully stitched, while background areas show the underlying twill material. This makes the patch lighter and more flexible, and the twill color becomes a deliberate design element.
Under 100% coverage is the better choice when your patch is large (5″+), when you want a lighter and more flexible patch, or when you want the twill background as a design element. Twill is available in dozens of colors.
5. Size Guide by Garment
Patch size depends on where it will be placed. Too large and it overpowers the garment; too small and it gets lost. Use these maximum dimensions as a guide — your patch can always be smaller, but exceeding these sizes will create fit or proportion issues on the garment.
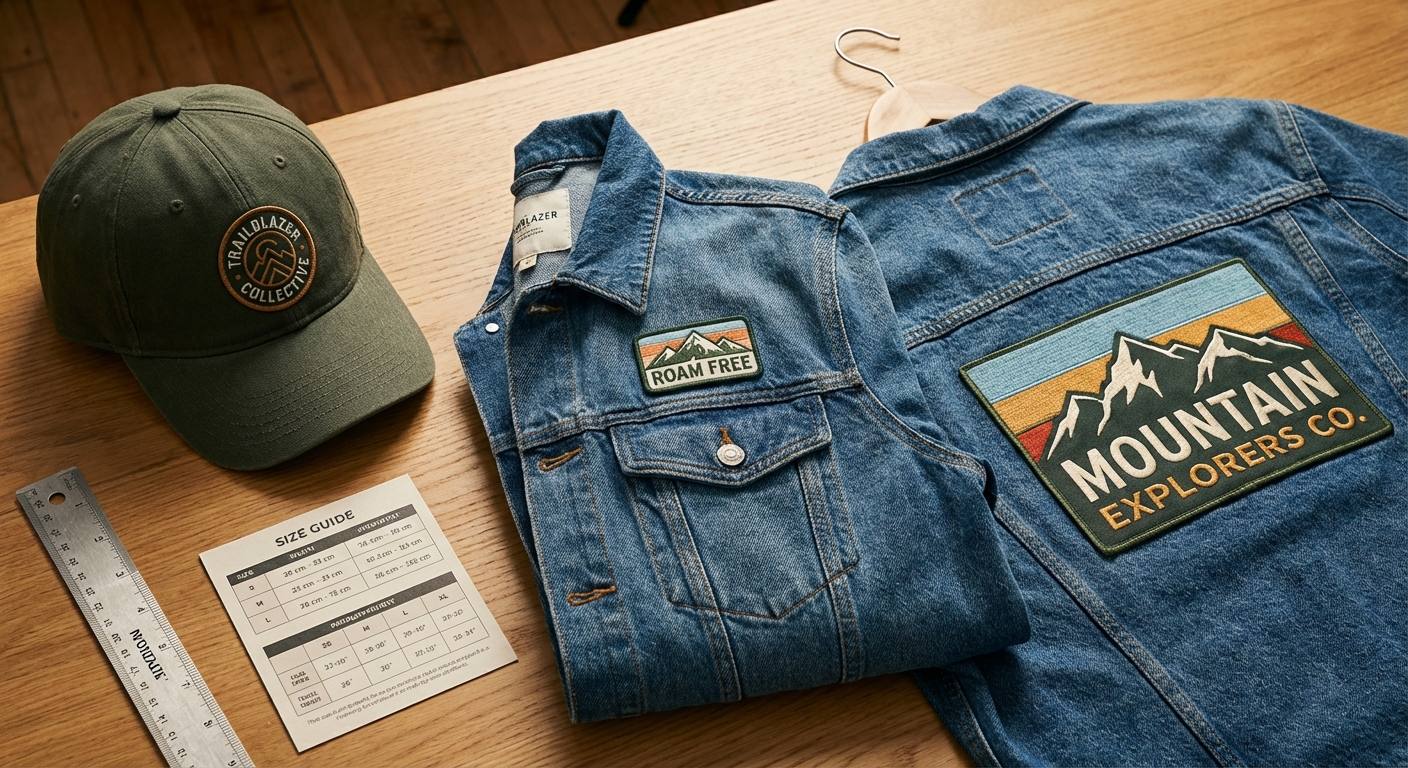
Proper patch sizing varies by garment placement
| Placement | Max Width | Max Height | Common Shapes | Notes |
|---|---|---|---|---|
| Baseball Cap | 4″ | 2.75″ | Rectangle, oval, shield | Front panel is curved — consider how patch sits on the curve |
| Beanie | 2.5″ | 1.25″ | Rectangle, small oval | Cuff area is limited; keep designs simple at this size |
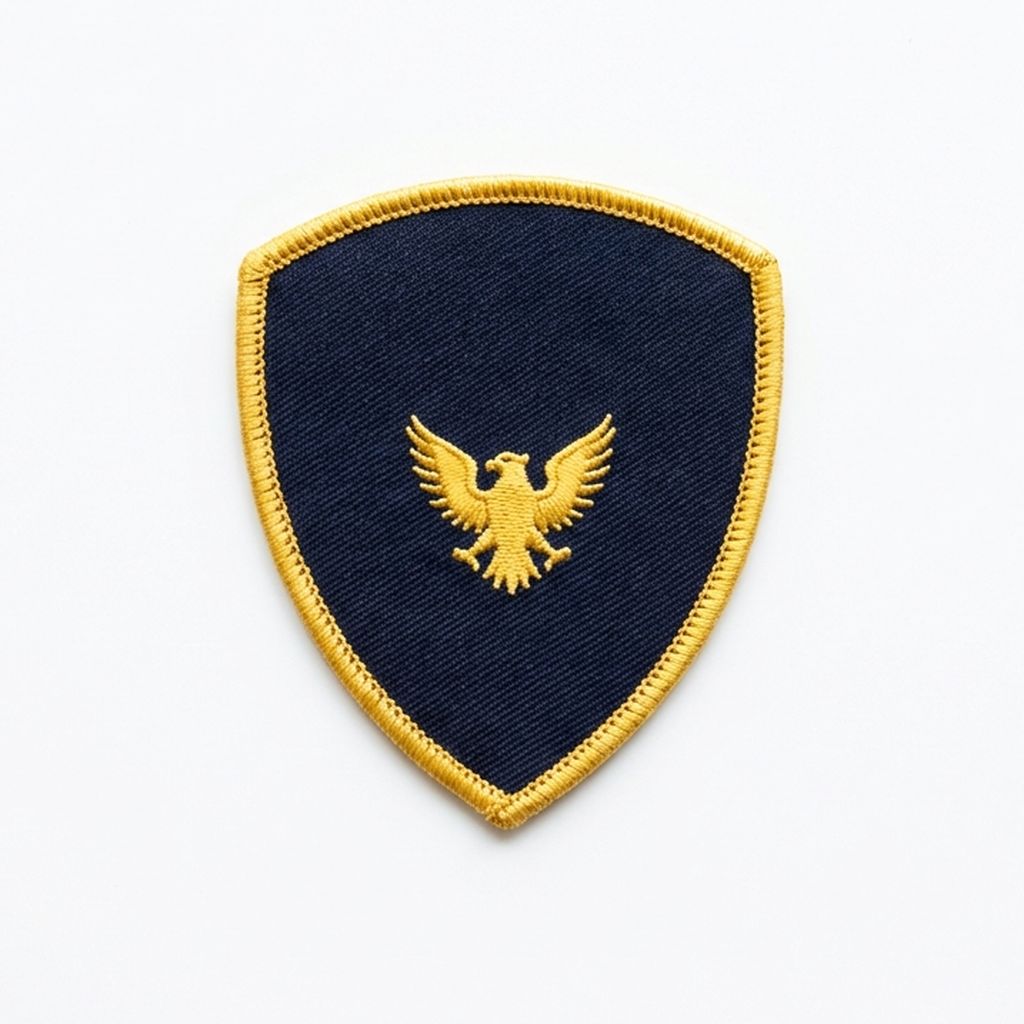
| Uniform Shoulder | 4″ | 5″ | Shield, heater shield, circle | Standard military/law enforcement shoulder sleeve insignia position |
| Jacket Chest | 2.5″ | 2.5″ | Circle, square, small shield | Should complement (not dominate) other chest elements |
| Jacket Back | 10″ | 14″ | Any — large format allows complex designs | Largest common placement; consider embroidery weight at this size |
6. Patch Shape Guide
Custom patches come in virtually any shape — from basic circles and rectangles to specialized military and scouting insignia shapes with specific traditions and standards behind them. Below is a comprehensive reference organized by category.
Standard Shapes
The most common and versatile patch shapes. These work for any industry or application and are compatible with both merrowed and laser cut edges.

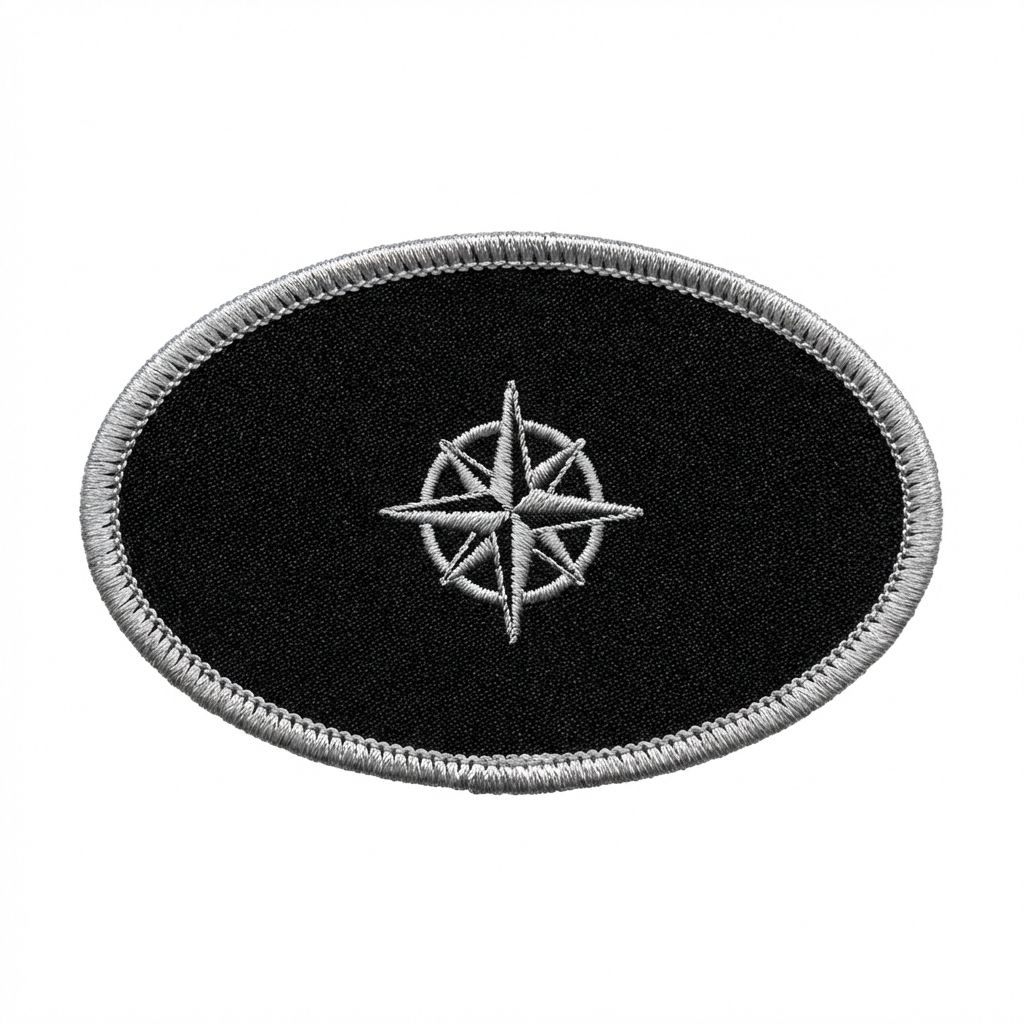
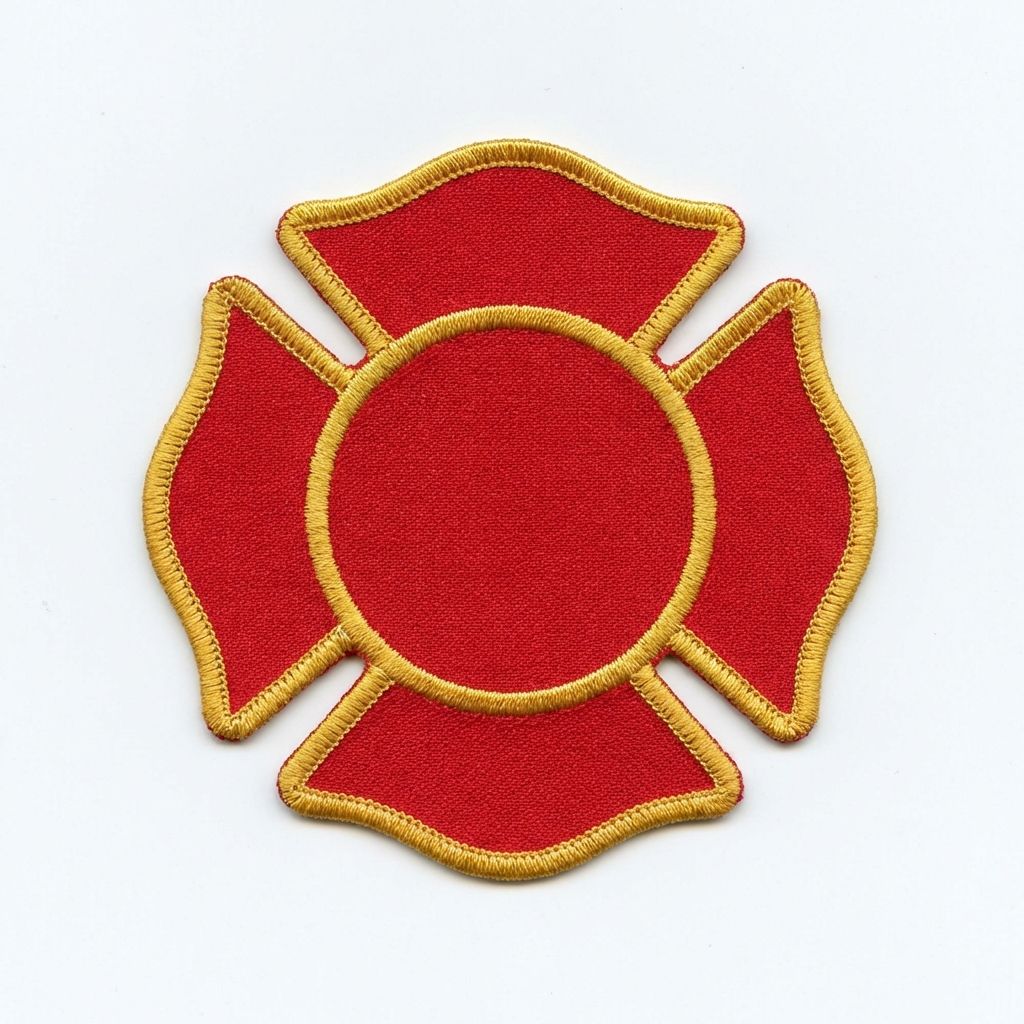
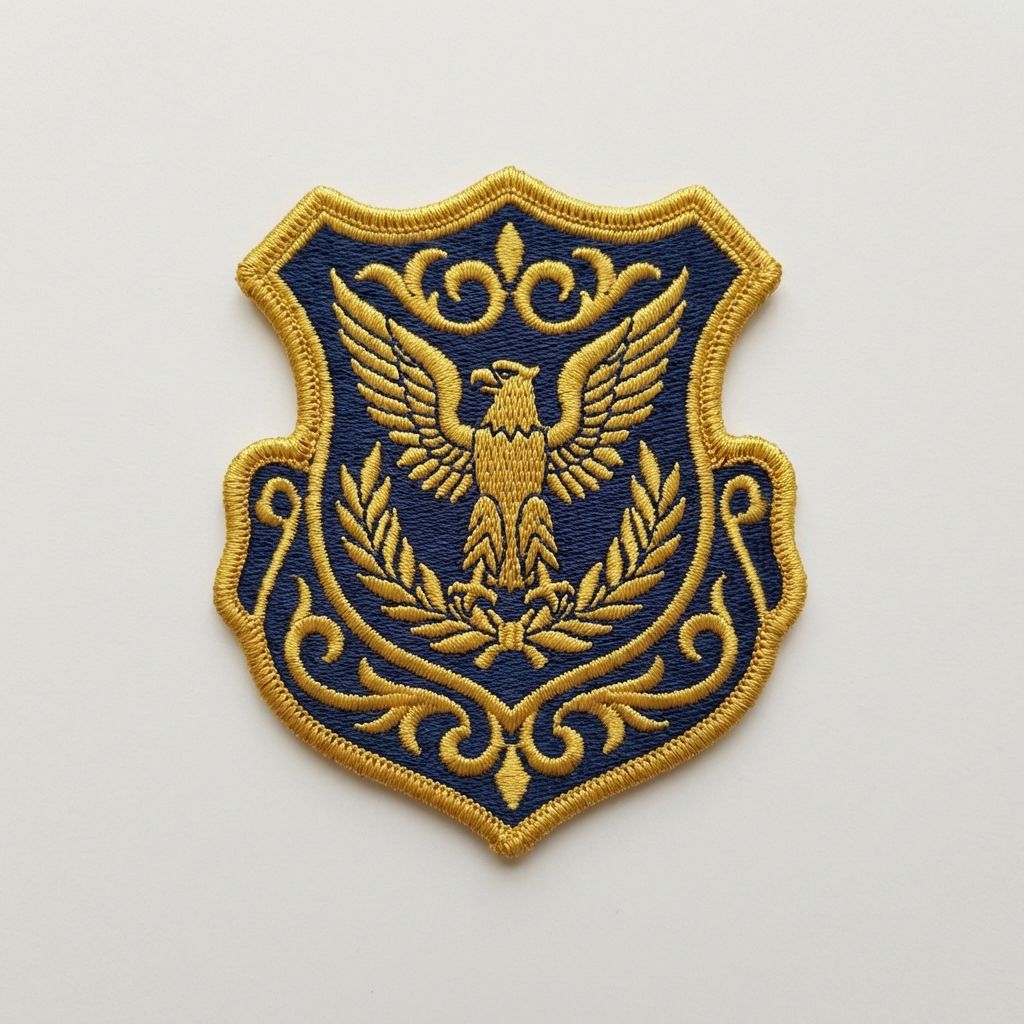
Organizational / Institutional Shapes
Shapes with deep institutional roots — commonly used by police, fire, medical, security, and government organizations.
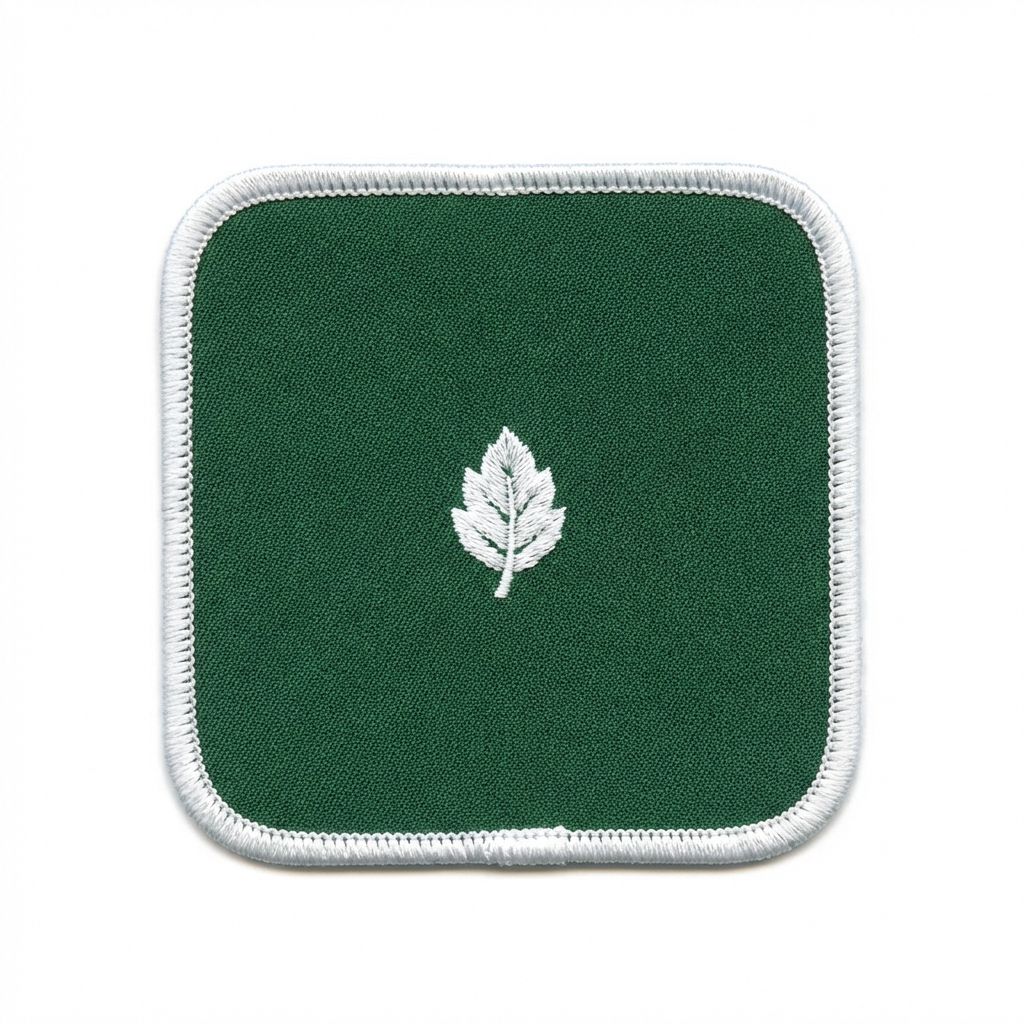
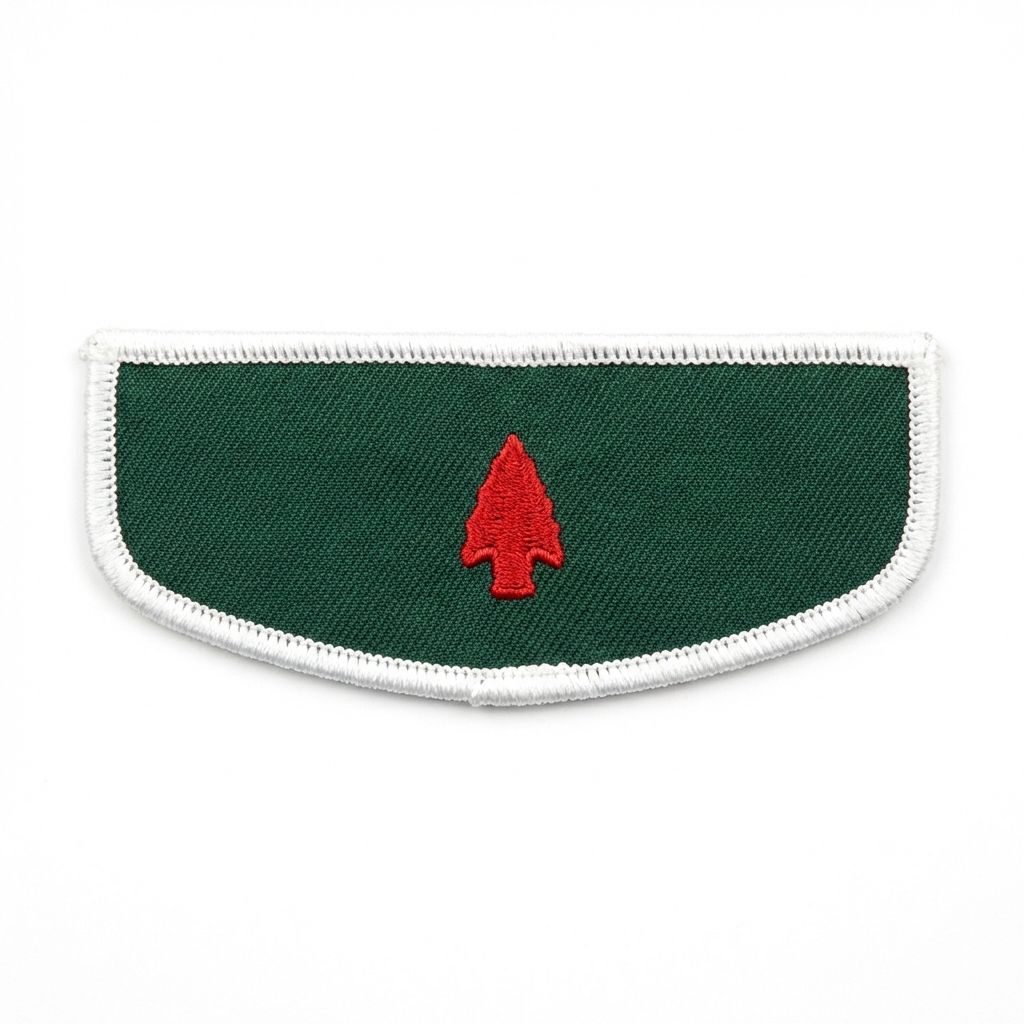
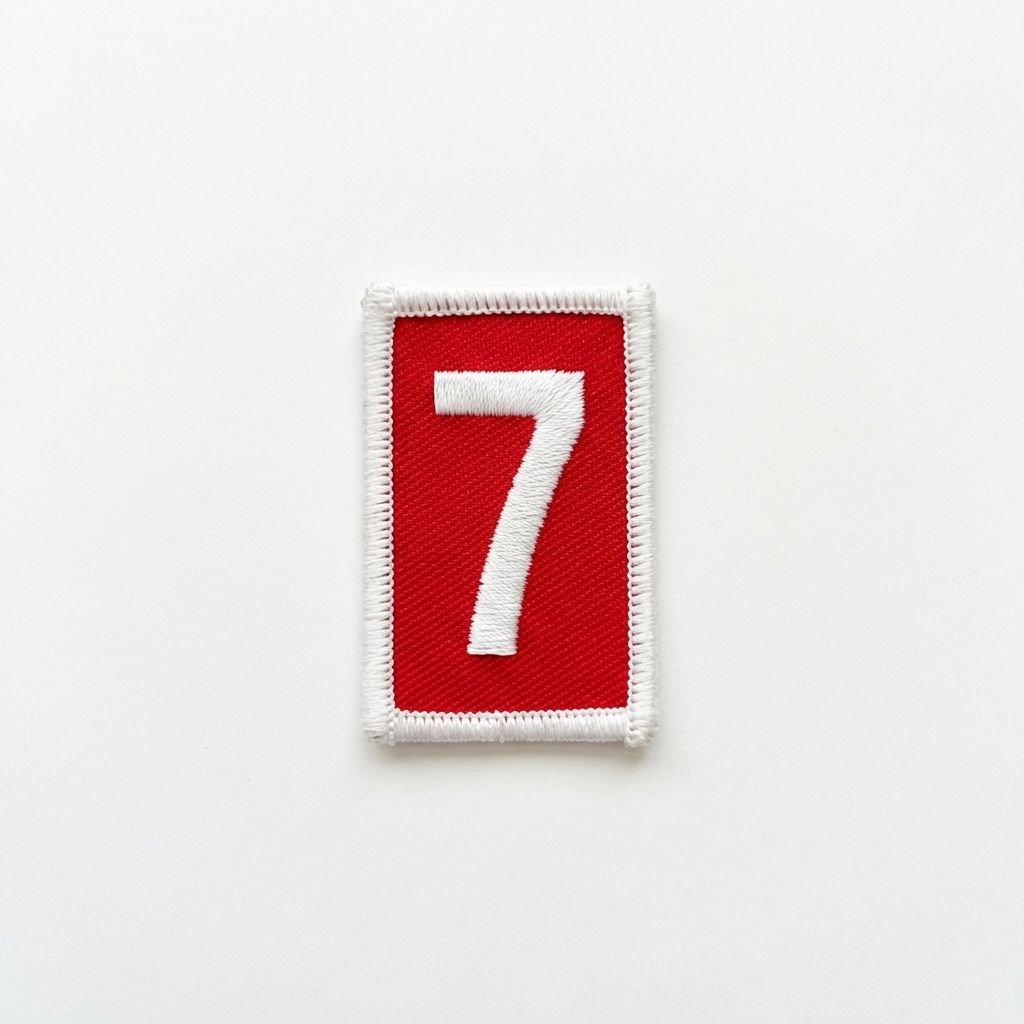
Scouting-Specific Shapes
Shapes standardized by Scouting America (formerly Boy Scouts of America) for official insignia and council-level customization. Each shape has a specific placement on the scout uniform.

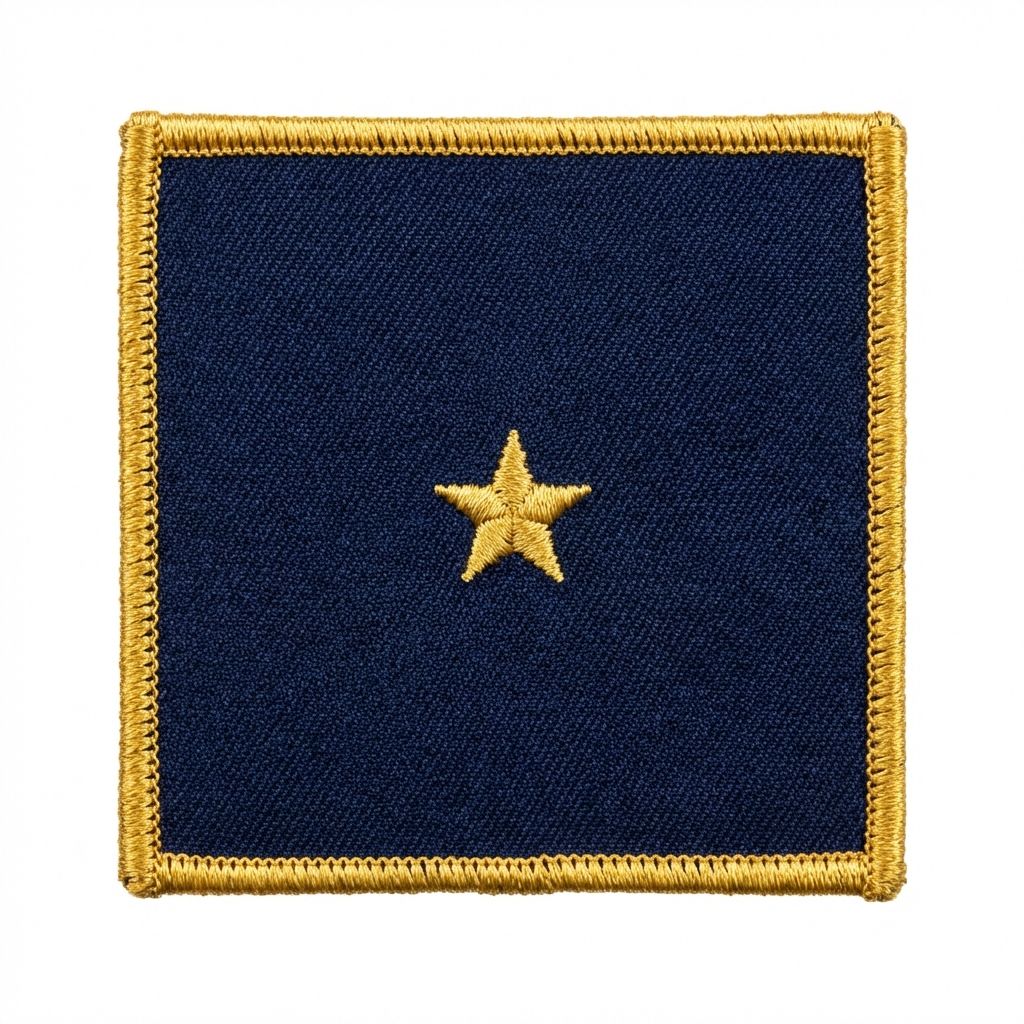
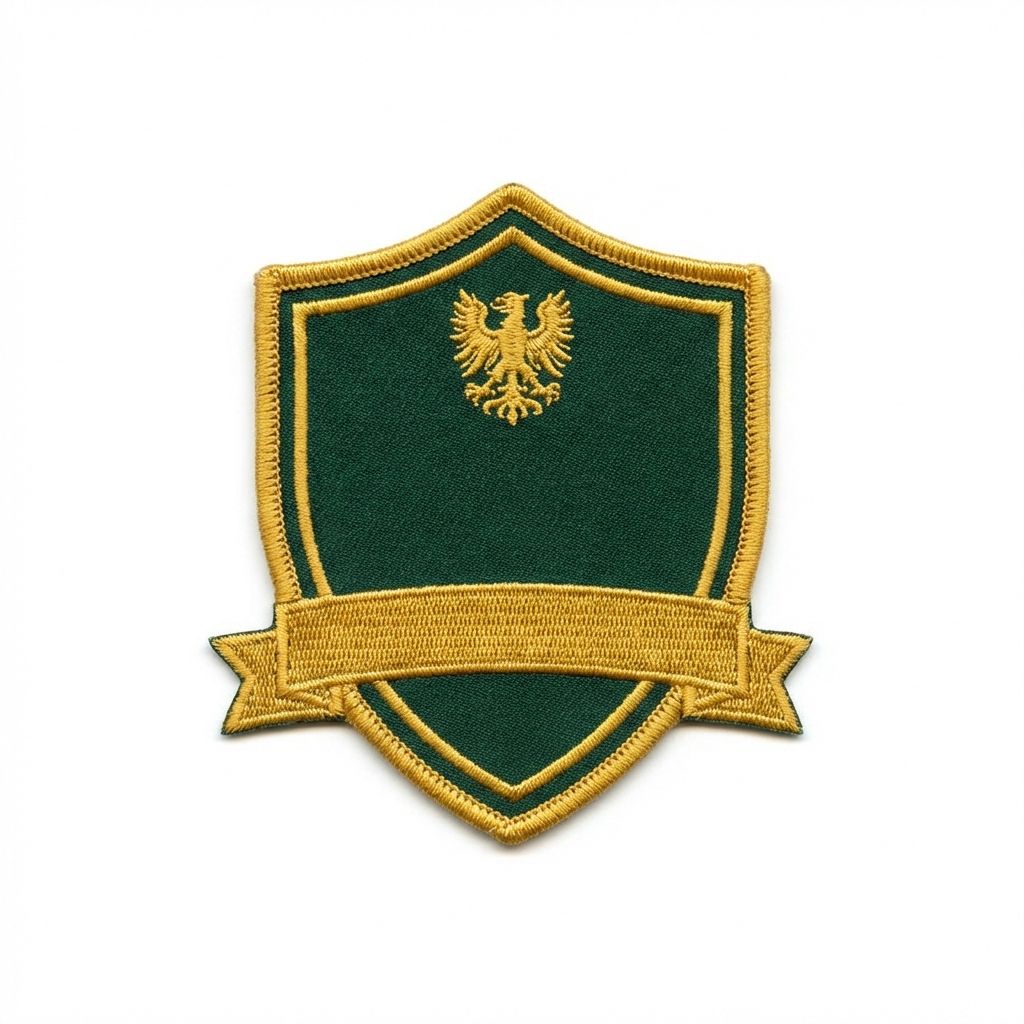
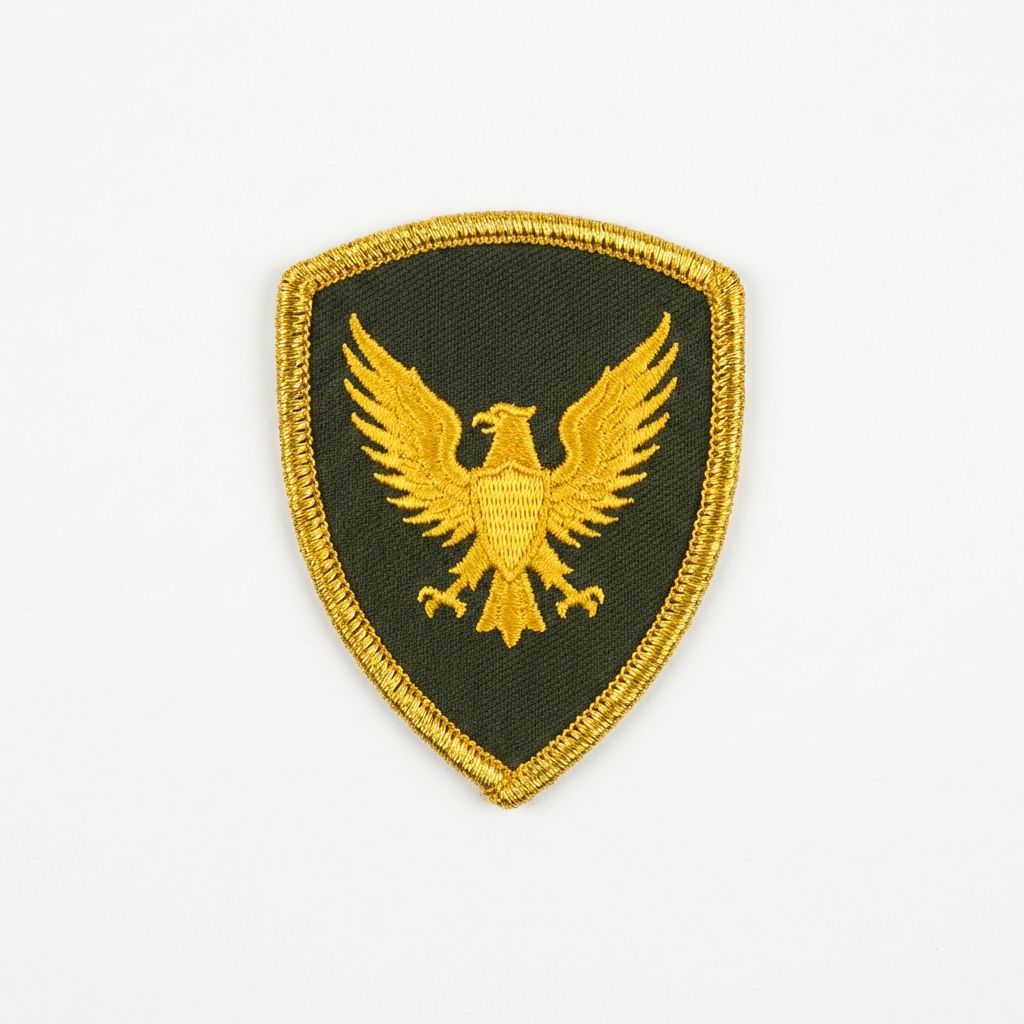
Military-Specific Shapes
Military patch shapes carry deep historical significance — many trace their origins to medieval heraldry. Each shape serves a specific function in military insignia and is associated with particular unit types, ranks, or qualifications.


| Shape | Typical Use | Historical Significance |
|---|---|---|
| Heater Shield | Army Division SSI, Air Force Wing patches | Derived from medieval armor; represents protection and combat heritage |
| Chevron | Enlisted rank patches (E-2 through E-9) | V-shaped insignia; multiple chevrons = higher seniority ("stripes") |
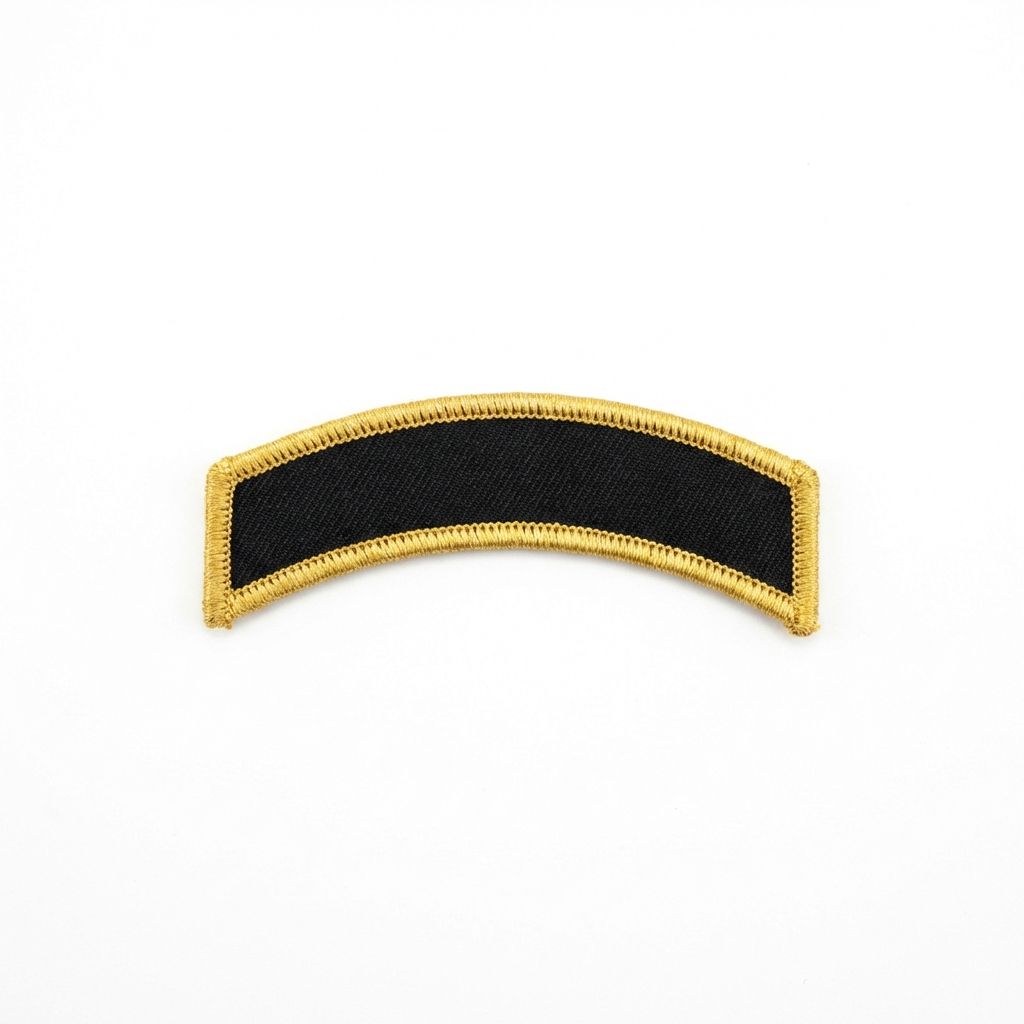
| Tab | Worn above unit patch: Ranger, Airborne, Special Forces | Skill/unit qualifiers earned through specialized training |
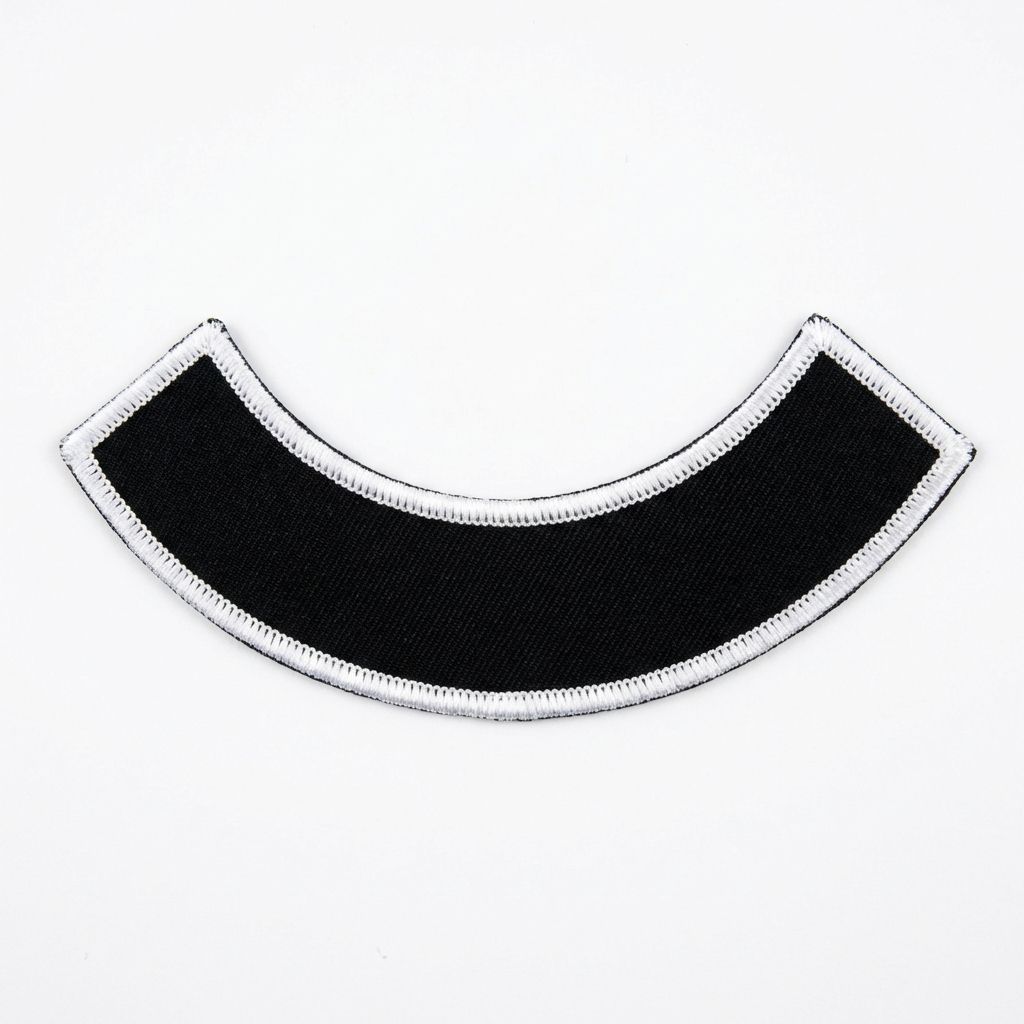
| Rocker | Below chevrons for NCO rank; also motorcycle clubs | Arched band indicating Non-Commissioned Officer status |
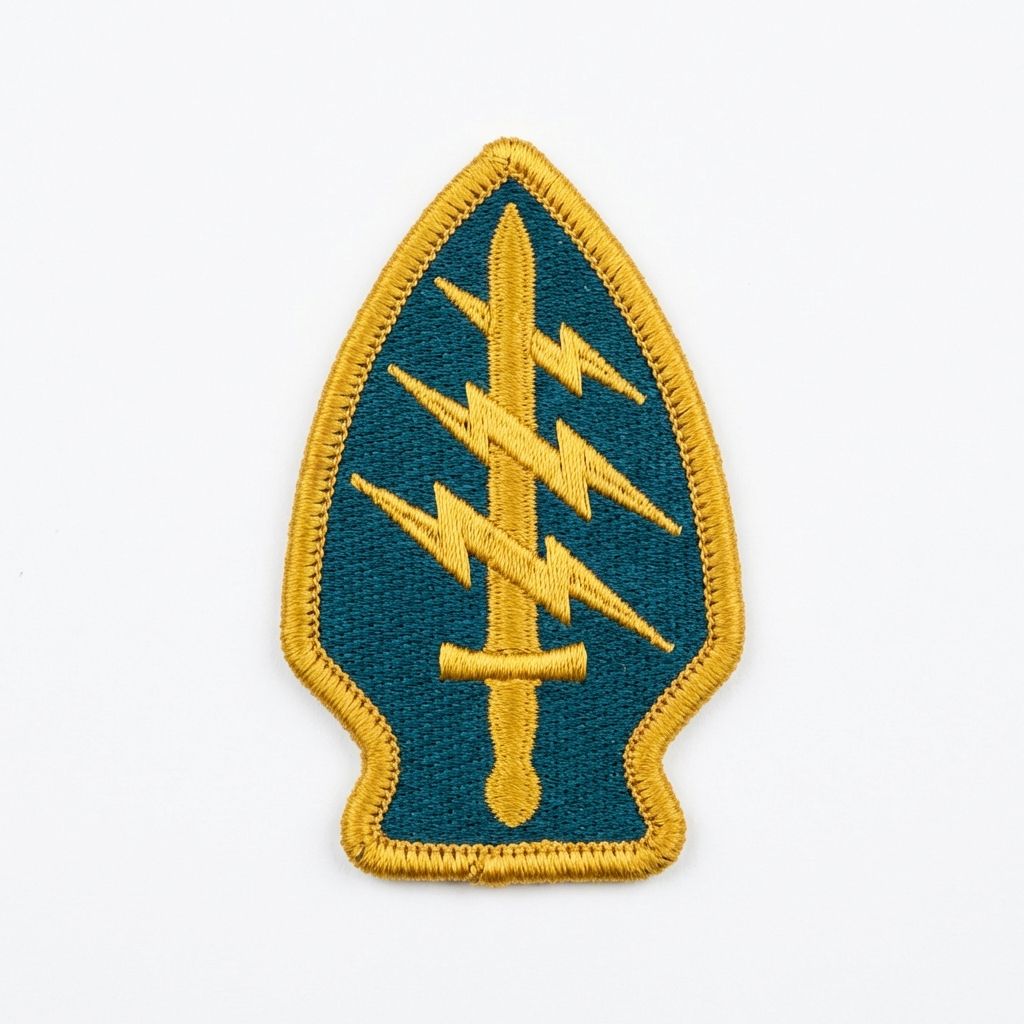
| Arrowhead | Army Special Operations Command (ARSOC) | Pays homage to Native American traditions and the First Special Service Force |
| Keystone | 28th Infantry Division ("Keystone Division") | Named for Pennsylvania's nickname as the "Keystone State" |
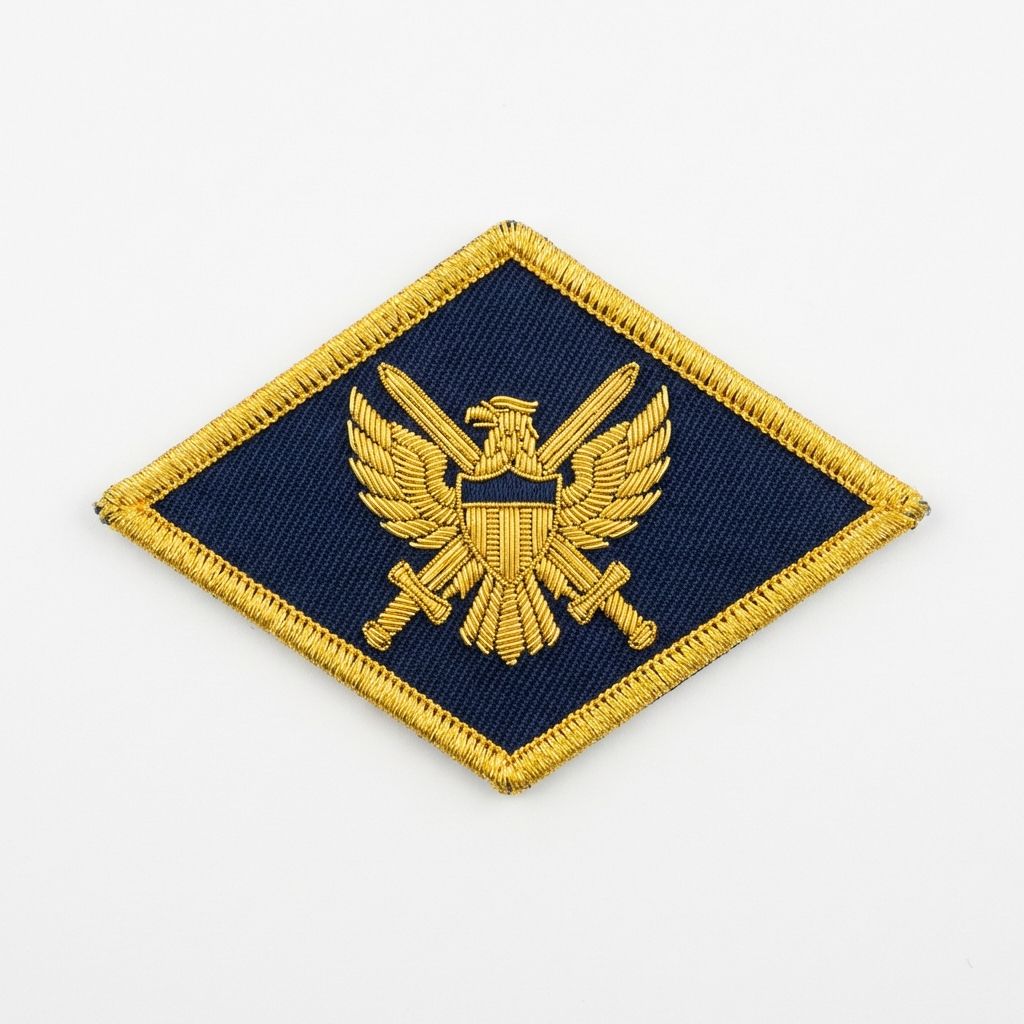
| Diamond | Various military units and special task forces | Also called "lozenge"; historically used in European heraldry |
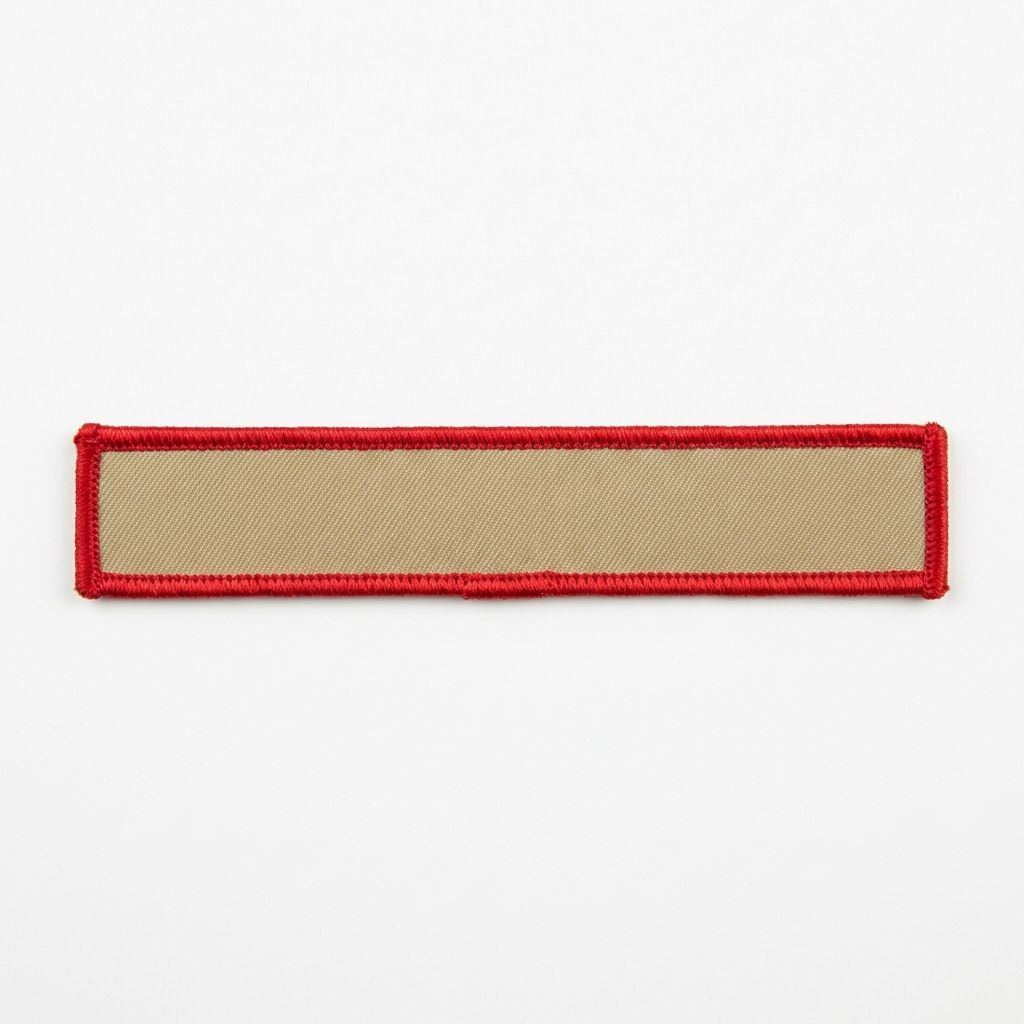
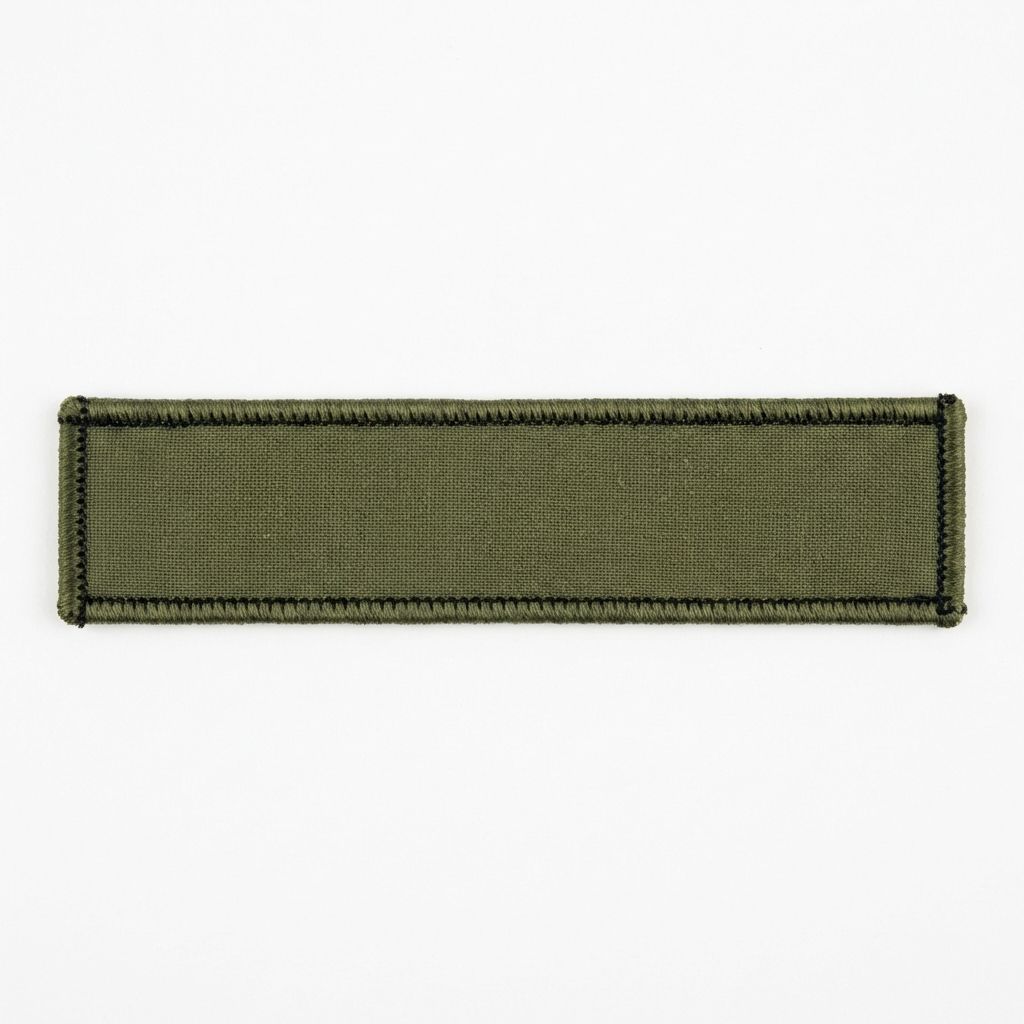
| Name Tape | Name and branch identification on uniforms | Simple 1″ height rectangles; standardized across all branches |
| The Disc | Branch disks, Combat Service Identification Badges | Circular badge identifying the wearer's branch of service |
7. File Preparation
The single most important thing you can do for your custom patch project: provide the highest quality file possible. Our design team can work with virtually any file format — but starting with a high-quality source file ensures the most accurate reproduction of your design.
Accepted File Formats
| Format | Type | Quality | Notes |
|---|---|---|---|
| AI (Adobe Illustrator) | Vector | ⭐⭐⭐ Best | Native vector; outlines text for best results |
| Vector/Raster | ⭐⭐⭐ Best | Universal; preserves vector data when exported from Illustrator | |
| SVG | Vector | ⭐⭐⭐ Best | Open vector format; great for web-origin designs |
| EPS | Vector | ⭐⭐⭐ Best | Legacy vector format; widely compatible |
| PNG | Raster | ⭐⭐ Great | Lossless compression; 300+ DPI recommended |
| JPEG/JPG | Raster | ⭐ Good | Lossy compression; save at maximum quality |
File Preparation Checklist
- Resolution: For raster files (PNG, JPEG), provide at least 300 DPI at the intended patch size
- Color Mode: RGB or CMYK — we'll match to available thread/PVC colors
- Text: Convert all text to outlines/paths in vector files to avoid font substitution issues
- Bleed: Not required — our team handles edge treatments
- Colors: Specify exact colors (Pantone, hex, or thread color names) if precise matching is critical
- Size: Include desired patch dimensions (width × height) with your file
8. Common Design Mistakes
We've produced millions of custom patches and see the same design pitfalls repeatedly. Avoid these common mistakes and your patch will look exactly the way you envisioned it.
1 Undersized Text — The #1 Mistake
The single most common issue: submitting a design with text that's too small for the patch type. Embroidery threads have physical thickness — they cannot reproduce text smaller than approximately 4mm in height. Text that looks fine on screen will become an unreadable blob when stitched.
The fix: For embroidered patches, use uppercase, sans-serif fonts (like Arial, Helvetica, or Futura) unless the text is large (1cm+), at which point any font works fine. If your design requires small, detailed text, switch to a woven patch — woven thread is finer and can reproduce text down to ~2mm.
2 Too Many Colors for the Patch Type
Designs with color gradients, photographic elements, or more than 12 colors submitted for embroidered patches. Embroidery machines work with individual thread colors — they can't blend or create gradients. Each distinct color requires a separate thread.
The fix: Either simplify the design to 12 or fewer flat colors for embroidered/woven production, or switch to sublimation patches where the design is printed in full CMYK color with unlimited gradients and photographic detail.
3 Complex Shapes with Merrowed Edge
Designing a custom patch with sharp inward angles, intricate cutouts, or complex outlines and then requesting a merrowed (thread-wrapped) border. The merrowing machine physically wraps thread around the edge in a continuous path — it cannot navigate tight concavities.
The fix: Use laser cut edge for any non-standard shape. Or simplify the outline to smooth curves and rounded corners that a merrowing machine can follow.
4 Low-Resolution Source Files
Submitting a tiny, pixelated image pulled from a website or social media post. While our team can digitize from low-quality references, the result will require more interpretation and revision cycles — and the final patch may not match what you expected.
The fix: Provide the largest, highest-quality version of your design available. Vector files (AI, PDF, SVG, EPS) are ideal. For raster files, aim for 300+ DPI at the intended patch size. Even a clean hand sketch photographed in good lighting is better than a compressed JPEG thumbnail.
5 Not Accounting for Patch Size in Design
Designing a patch at screen scale without considering the final physical dimensions. A design with 15 small elements might look great at 12 inches on a monitor, but becomes an indecipherable mess at the actual 2.5-inch patch size.
The fix: Print your design at 100% actual size and evaluate it. Can you read the text? Can you distinguish all the elements? If not, simplify. The best patches are bold, clear, and readable at their intended size.
6 Thin Lines and Fine Detail on Embroidered Patches
Designs with hairline borders, thin strokes, or delicate line work submitted for embroidered production. Embroidery thread has a minimum width of approximately 1mm — thinner lines will either become wider than intended or disappear entirely.
The fix: Make all lines at least 1mm wide for embroidered patches. For designs requiring thinner lines, use woven patches which can reproduce finer detail, or sublimation for the finest possible line work.
Embroidered: Minimum text height ~4mm (uppercase sans-serif recommended)
Woven: Minimum text height ~2mm (any font at larger sizes)
Sublimation: Minimum text height ~1.5mm (any font, any style)
PVC: Minimum text height ~3mm (depends on mold precision)
Chenille: Minimum text height ~15mm (large, bold letters only)
Frequently Asked Questions
What type of patch is best for my project?
What's the minimum order for custom patches?
How detailed can my custom patch design be?
What file format should I submit for my custom patch?
How long does custom patch production take?
What's the difference between merrowed and laser cut edges?
Can I get a sample before placing a full order?
What backing should I choose for my custom patches?
Ready to Order Custom Patches for Apparel?
At New York Custom Labels, we've spent over a decade manufacturing custom patches for brands, organizations, and teams of every size. Our talented production team has delivered millions of patches — from embroidered and woven to PVC, chenille, and leather — for everyone from startups to Fortune 500 companies. Whatever your design, quantity, or deadline, we have the expertise to bring it to life. A team expert will follow your order from start to finish and be available if you have any questions.
Browse All Patch Types →
The information below is required for social login
Sign In
Create New Account