


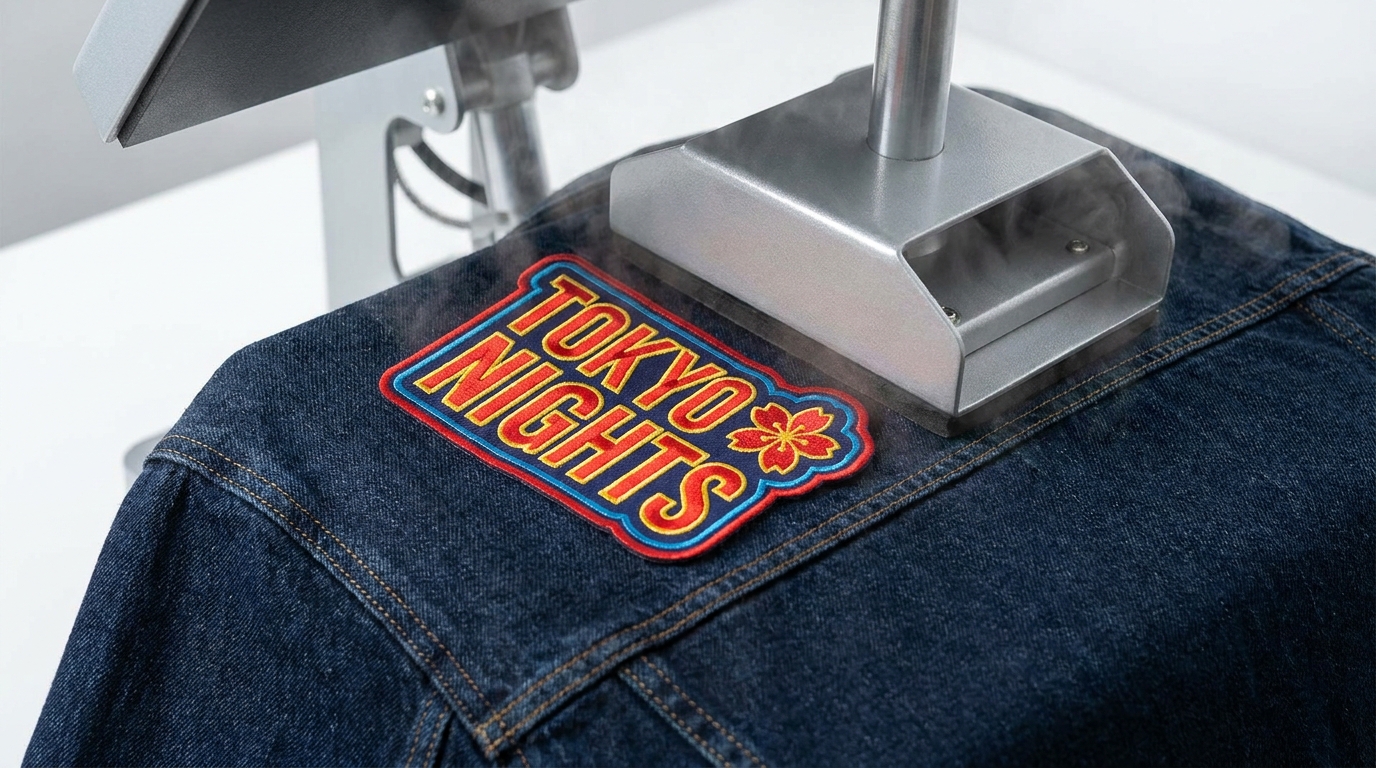
You've seen a patch fall off. Maybe it happened to a client. Maybe it happened to your own sample jacket in the studio. One wash, maybe two, and the corner starts lifting back. The artwork was tight. The stitch work was clean. But the bond gave out.
That's not a patch problem. That's an adhesive and application problem. Understanding how iron-on backing actually works changes how you design, spec, and drop your custom gear. It changes what you order and how you tell your customers to care for their pieces.
Here is how to get it right.
What the Backing Is Made Of
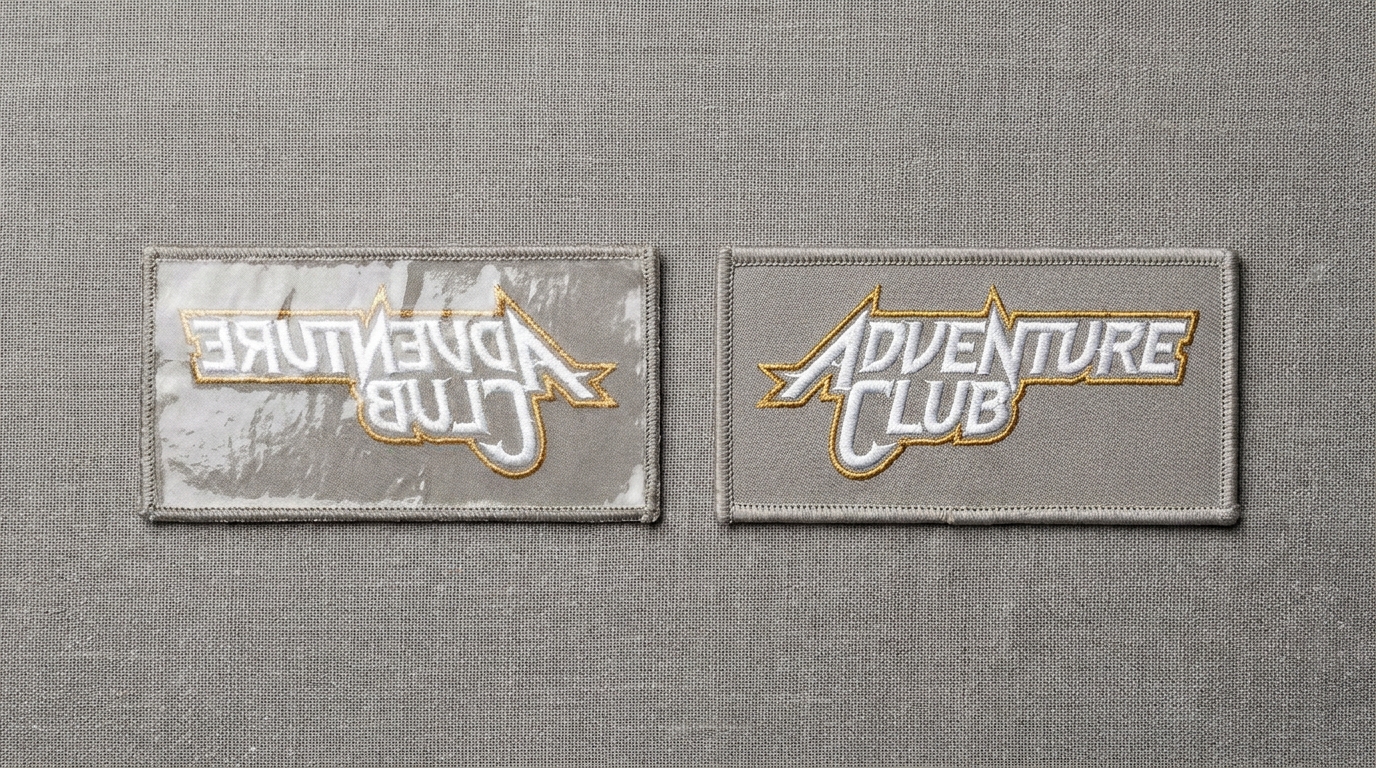
Iron-on patches rely on a thermoplastic polymer film fused to the underside of the threads. The industry standard for quality gear is heat-activated polyamide. At room temperature in your studio, it sits completely inert. Once you hit it with heat around 150 to 165 degrees Celsius, it turns into a fluid that sinks directly into the weave of your garment. When it cools down, it locks right into the fibers.
It isn't glue in the traditional sense. It's a temperature-sensitive polymer that shifts states. A reliable hold comes down to three factors: temperature, pressure, and time. Nail all three and your patch stays put. Miss one and you get a sample that looks good on the rack but fails in the real world.
Cheaper patches often use low-grade hot melt adhesives. They activate at lower temps and feel tacky to the touch right out of the box. They attach quickly, but the bond turns thin and brittle after a couple of wash cycles. A quick test in the studio: flex an unapplied patch. High-grade polyamide stays flexible, while cheap backing cracks around the edges.
The Role of Fabric Composition
Not every garment accepts heat-activated backing the same way. Heavyweight cotton and cotton blends are the easiest to work with. The weave gives the liquid polymer plenty of room to penetrate, and cotton handles high heat without scorching.
Polyester requires more attention. Synthetic fibers are smoother and tightly packed, giving the melt less surface area to grab onto. You can still bond to poly, but you need precise temperature control and timed pressure because polyester melts near the same temperature the adhesive activates. Too hot and you mark the fabric.
Nylon, spandex, and performance gear are where DIY applications usually fail. The heat window is tight. If you're putting custom iron-on patches on technical outerwear or activewear, a professional heat press is mandatory. A standard home iron fluctuates too much, leaving you with a bond that gives up under real stress.
Leather and heavy denim need longer dwell times because of their density. Heavy denim is great once attached because the open weave gives the polymer plenty of hold, but driving heat through thick fabric takes patience. Pressing from the inside of the garment is usually the move here.
Temperature, Pressure, and Time: All Three Matter
This is where most applications go sideways. People focus on heat and ignore the other two mechanics.
Temperature alone doesn't secure the hold. The polymer needs sustained heat to melt all the way through the layer. Gliding a household iron back and forth across a patch hits peak temperature at the surface, but it never drives enough heat deep into the core. You end up with stuck borders and a loose center.
Pressure is what pushes the liquid polymer down into the fabric fibers. A heat press locks down at 40 to 60 PSI across the entire surface. A hand iron relies on how hard you lean on it, and pressing against a soft ironing board absorbs the force before it reaches the fabric.
Time is the parameter people rush the most. Manufacturers list dwell time in solid seconds. For a standard embroidered patch on heavyweight cotton, 15 to 20 seconds of firm, motionless pressure is the baseline. Sliding the iron around like you're pressing a shirt ruins the setting process. You need steady, direct contact for the full duration.
Our custom patches use commercial-grade polyamide backing specified to work with industrial heat presses or careful studio iron setups. We include detailed application guides with every order, starting at minimums of just 5 pieces. Low batch runs shouldn't mean cutting corners on backing quality.
What Washing Actually Does to the Bond
A solid application lasts because the polymer has mechanically interlocked with the fabric. Standard water and movement won't undo a proper bond. What washing does is reveal a partial bond.
Failure usually shows up as edge lifting. The center of a large patch might stay attached, but the edges take the brunt of the washing machine's friction. For oversized patches over 4 inches, adding a perimeter stitch is smart insurance. The stitching locks the edge down permanently while the adhesive keeps the center flat.
Cold water washes keep your pieces looking sharp longer. High heat in the wash softens thermoplastic over time, and high heat in the dryer does the same thing. Recommend cold wash and hang dry to your customers. For heavy-use garments like workwear or main line jackets, use iron-on backing for quick positioning, then sew the perimeter for maximum durability.
Ordering Custom Iron On Patches That Actually Hold
The backing is a core part of your product specs. When sourcing custom iron-on patches, ask your manufacturer about the exact polymer type and its activation point. If a supplier can't give you a clear answer, they don't know what's going on the back of your art.
At New York Custom Labels, we spec our materials clearly. Polyamide, commercial grade, precise activation window. Our custom embroidered patches come standard with iron-on options, but you can also choose sew-on or combined options depending on your drop. Our 5-piece minimum makes it easy to run a physical test on your actual blanks before launching a full run.
Running a sample test matters. Every blank responds a little differently. Press a test patch onto your target fabric, run it through three wash cycles, and inspect the edges. Taking 20 minutes to test saves you from a quality headache after release day.
Positioning, Shape, and Edge Type
Patch geometry directly affects how the bond holds up. Standard shapes like circles, rectangles, and shields distribute edge pressure evenly. Complex custom shapes with sharp points or thin extensions have minimal surface area at the tips, making those points the first to catch on gear and lift.
For intricate shapes with sharp details, reinforce the thin points with a quick stitch or request a thicker backing layer upfront.
Merrowed borders, the raised thread edges classic to embroidered patches, create a thick perimeter that holds pressure well during application. Laser-cut flat edges look sleeker, but they leave thinner borders that demand precise heat and pressure to seal right.
The Takeaway
Custom iron-on patches perform when high-grade backing matches the right fabric and proper application. Failures are predictable, which means they're easy to prevent.
Spec your backing by material type, test on your actual garments, and apply with steady heat and solid pressure. For gear built for heavy daily use, add a perimeter stitch.
Check out our full line of custom patches with iron-on, sew-on, and hybrid backing options. Grab a free quote on your design starting at 5 pieces, and let's get your next drop built right.
The information below is required for social login
Sign In
Create New Account